---
title: "超快速!在日本 Amazon EC2 架設 OpenVPN Server!!"
description: "本教學主要是利用Pivpn這個套件在Amazon EC2上快速架設VPN伺服器,讓你可以不用受限於日本網站的境外IP限制。"
canonical_url: "https://hannoeru.me/posts/fast-deploy-openvpn-server-on-japan-amazon-ec2"
---
> Index of every page on this site: [llms.txt](https://hannoeru.me/llms.txt)
本教學主要是利用 Pivpn 這個套件在 Amazon EC2 上快速架設 VPN 伺服器,讓你可以不用受限於日本網站的境外 IP 限制。
> **更新(2026):** 本文撰寫於 2019 年,EC2 控制台介面已改版,畫面與教學中的截圖不同,但流程相同。另外建議:
>
> - 系統映像檔請改用目前的 Ubuntu Server LTS(例如 24.04)。
> - PiVPN 現在預設推薦 WireGuard(設定更簡單、效能更好),安裝時選擇 WireGuard 即可,不需要輸入密碼的步驟。
> - 免費方案現在涵蓋多種機型(以點數計算),不限於 t2.micro。
## 註冊
### Step 1:註冊 Amazon Web Services 帳號,Amazon 有開放無料試用版請點選以下連結
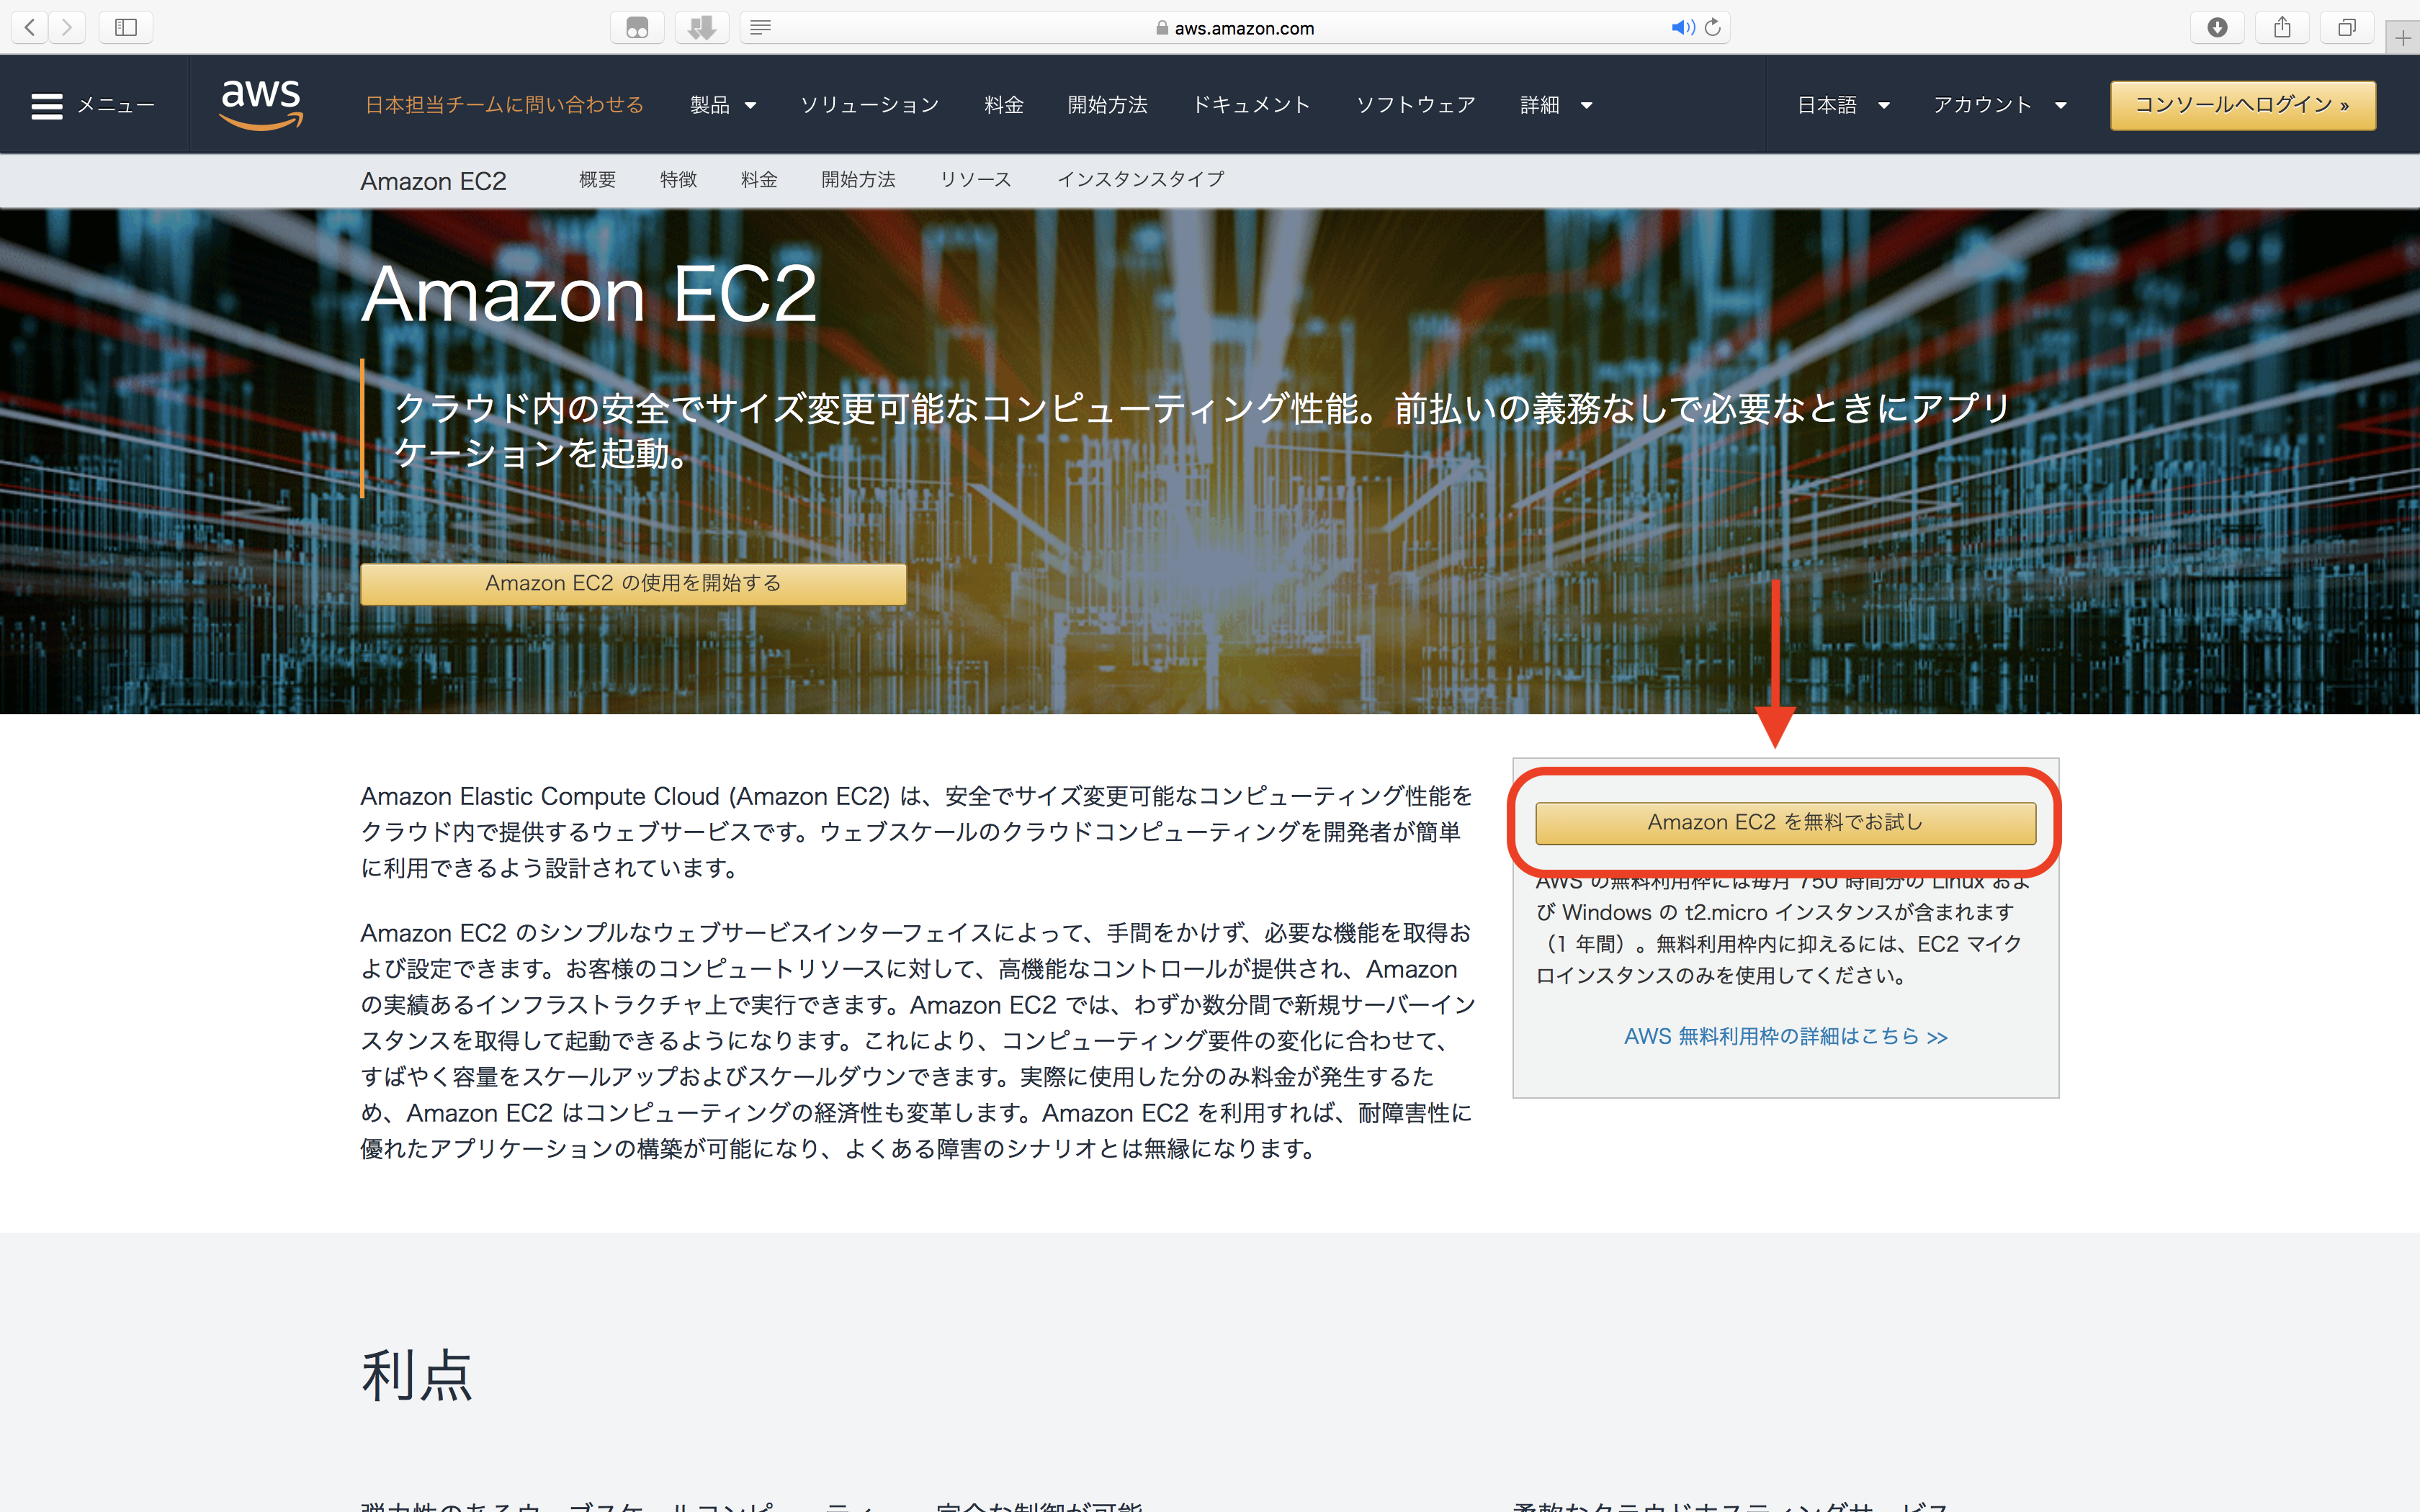
看不懂日文的話在第一個畫面的右上角有語言選項,註冊完成後記得到控制台的右上角將區域調為東京。
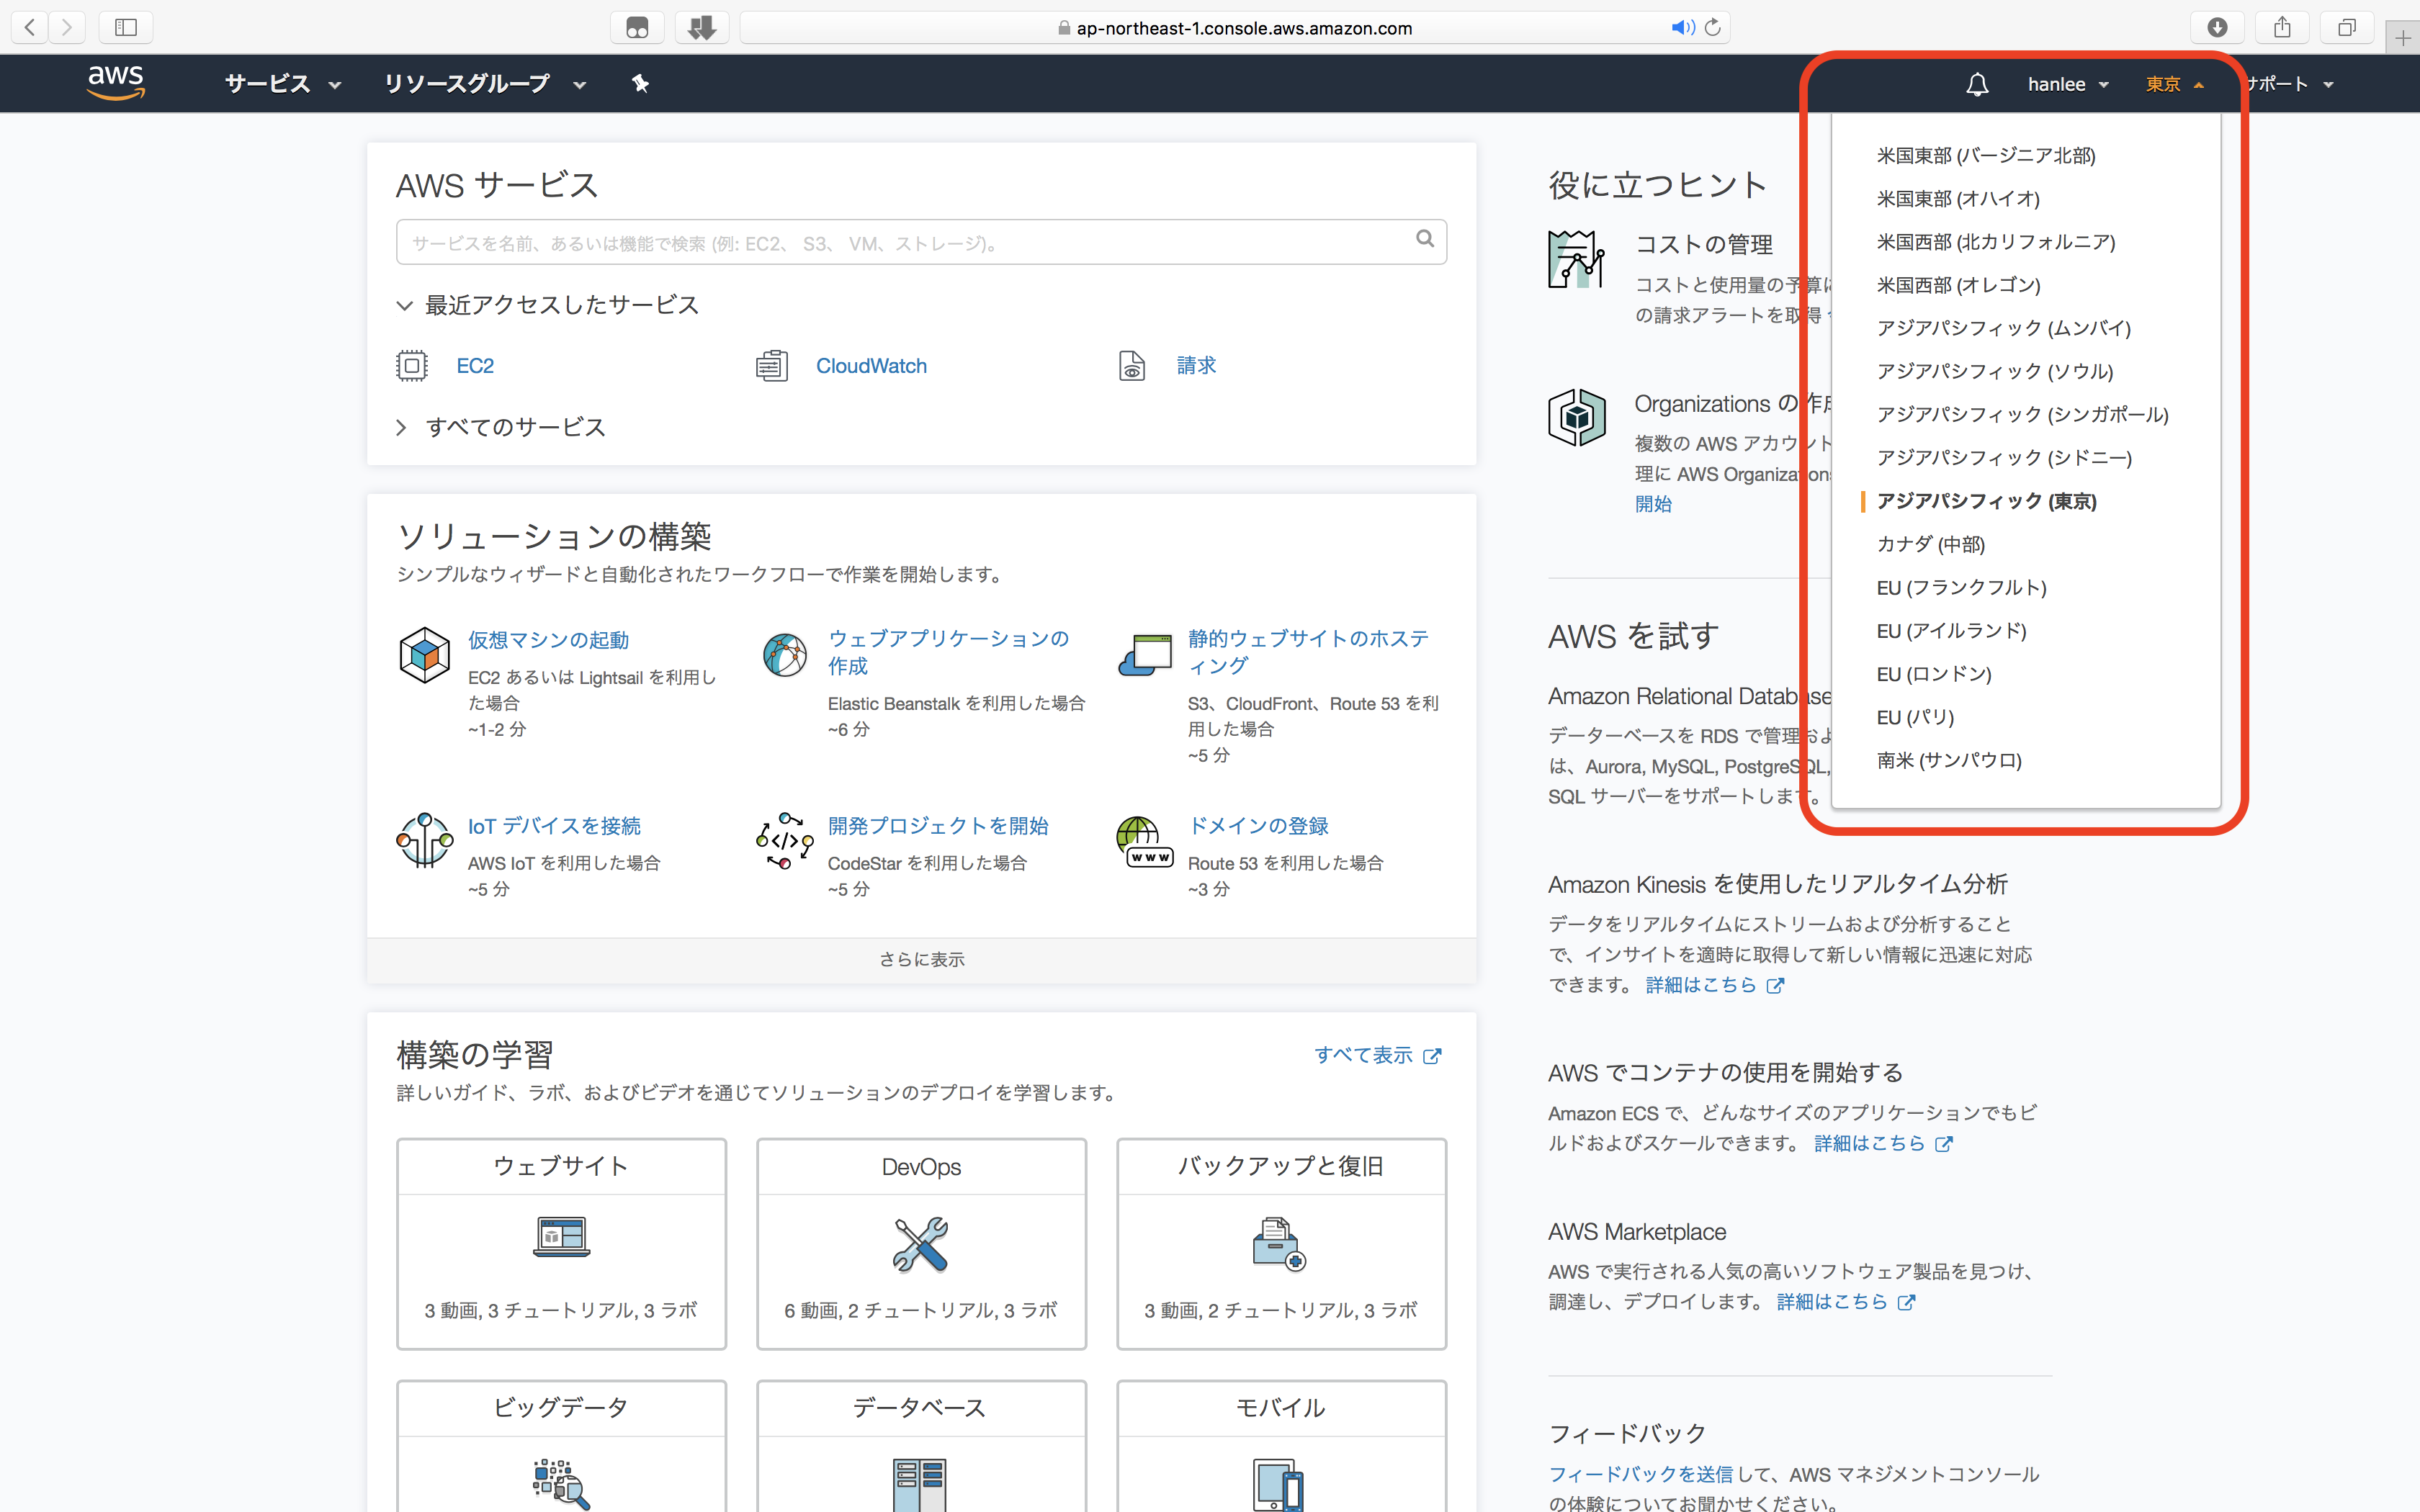
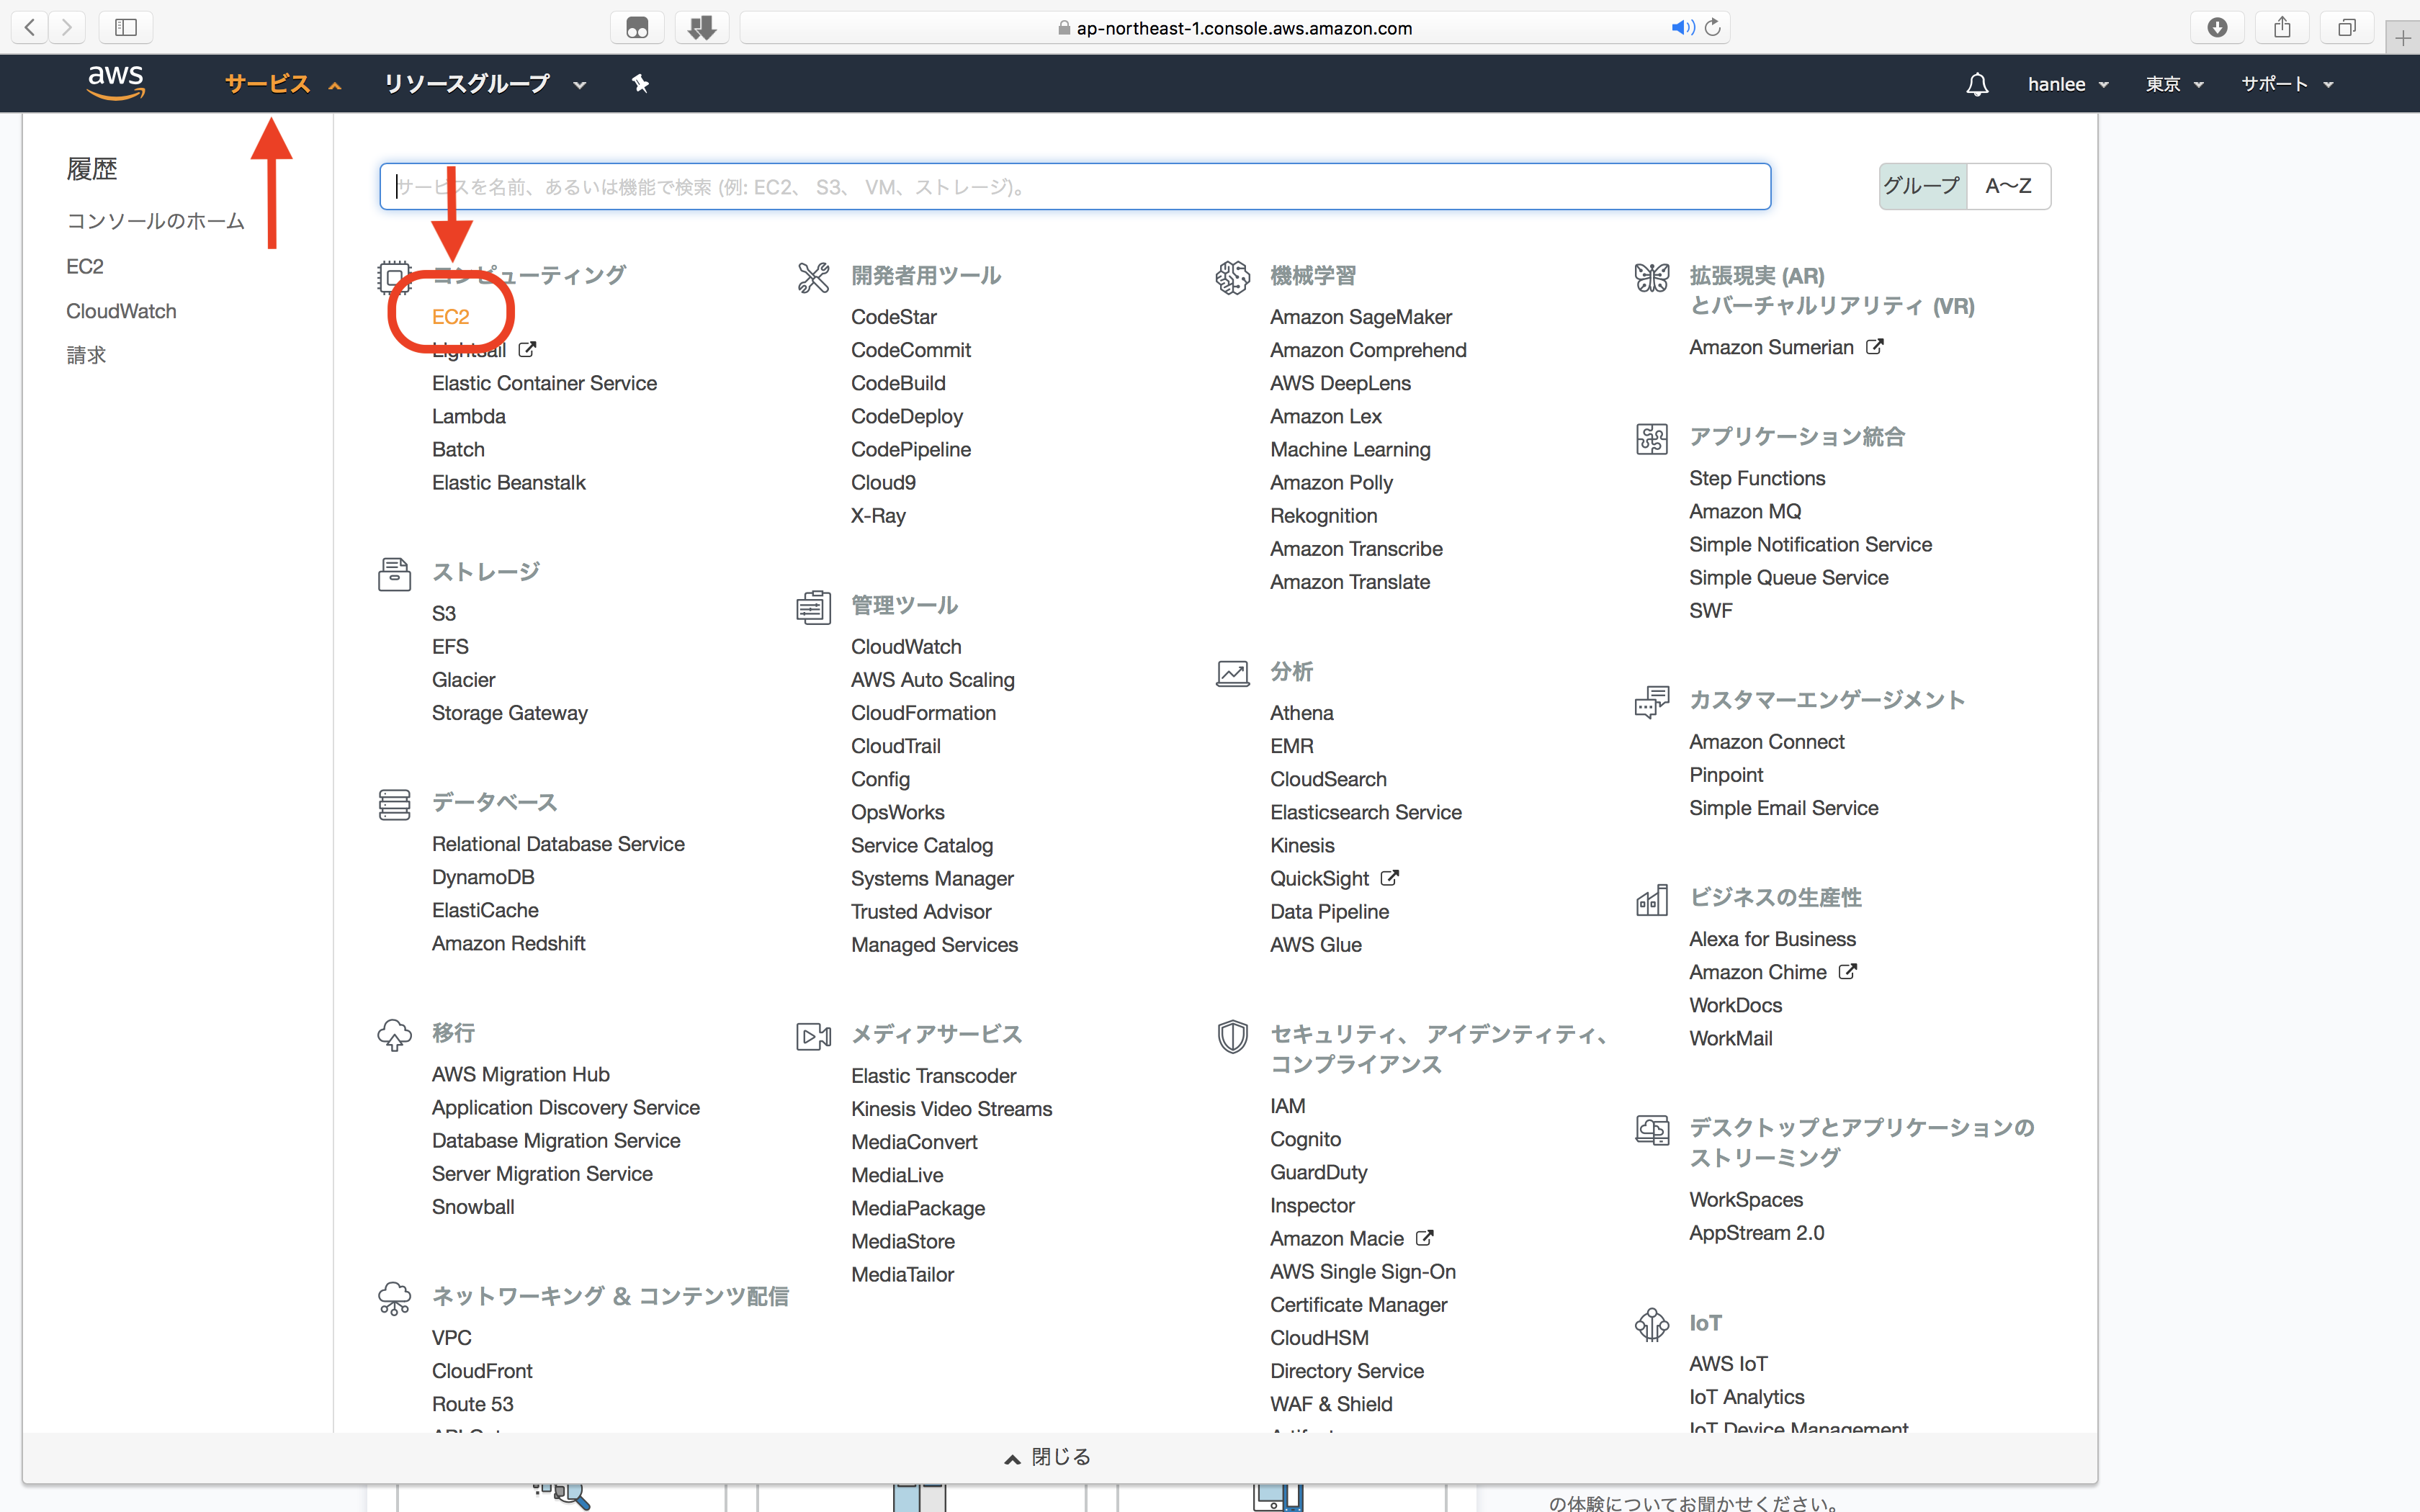
### Step 2:在服務(サービス)選項中進入 EC2 管理介面
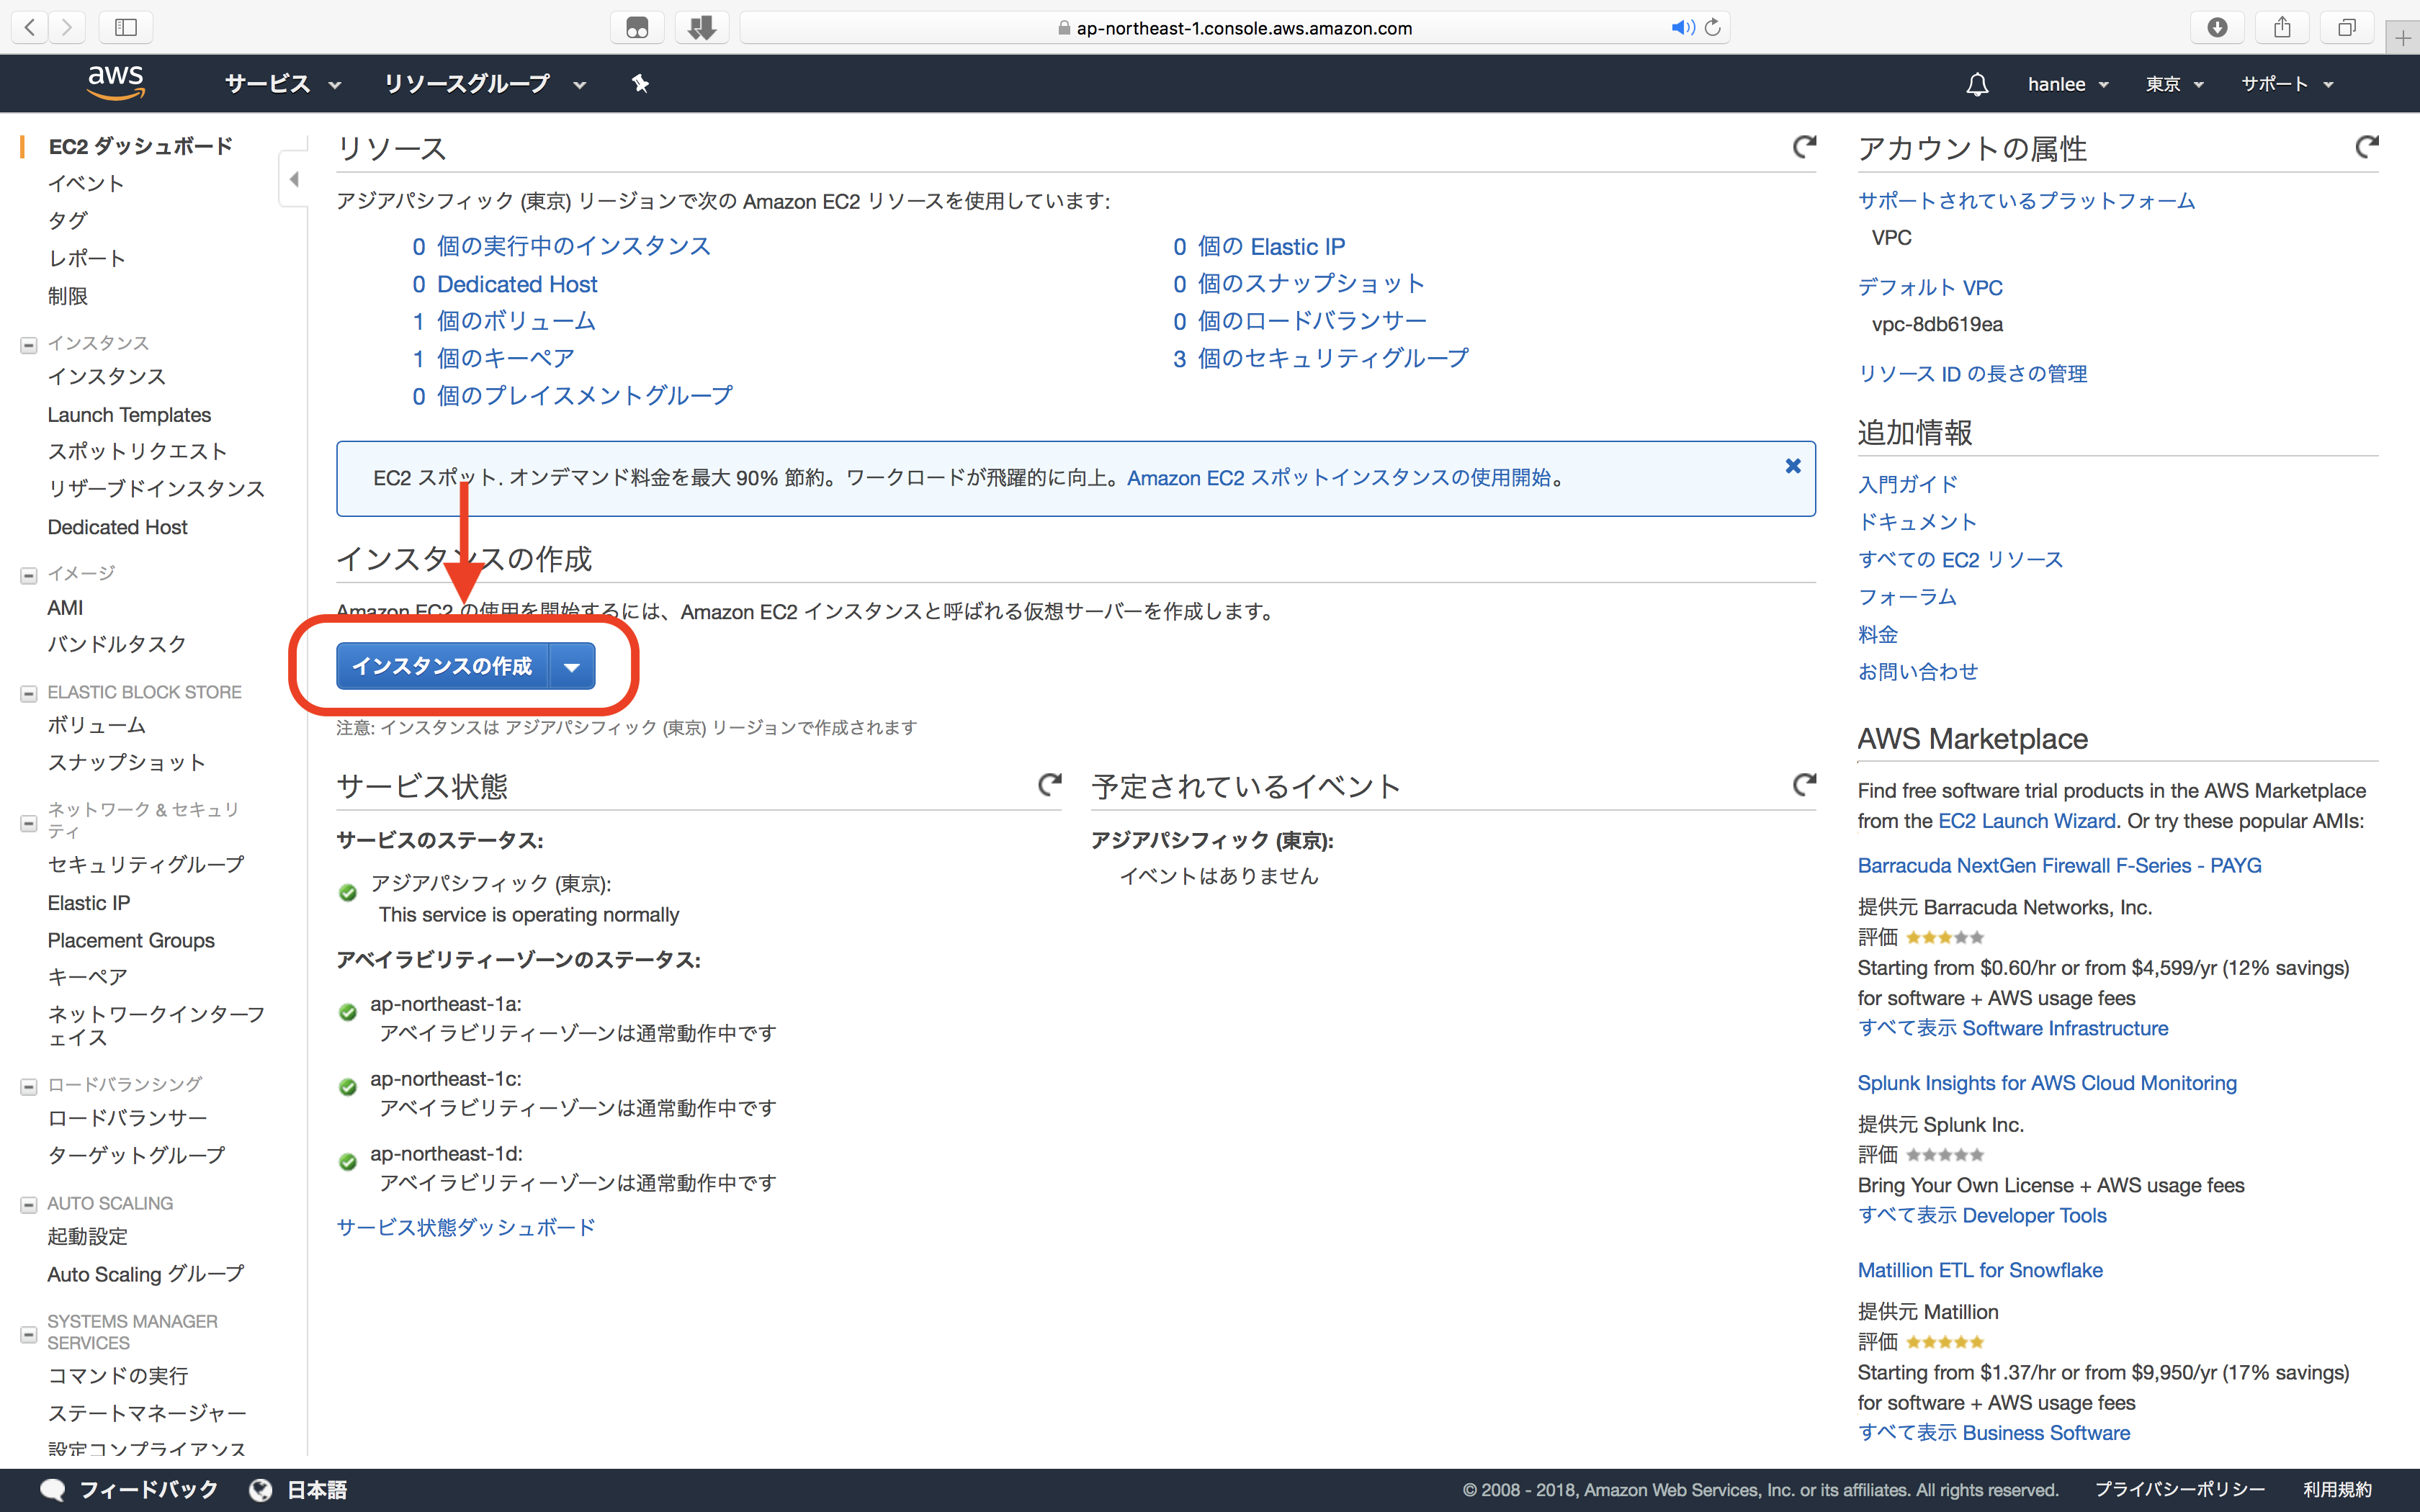
### Step 3:點選(インスタンスの作成)準備建立一台虛擬機
## 建立虛擬機
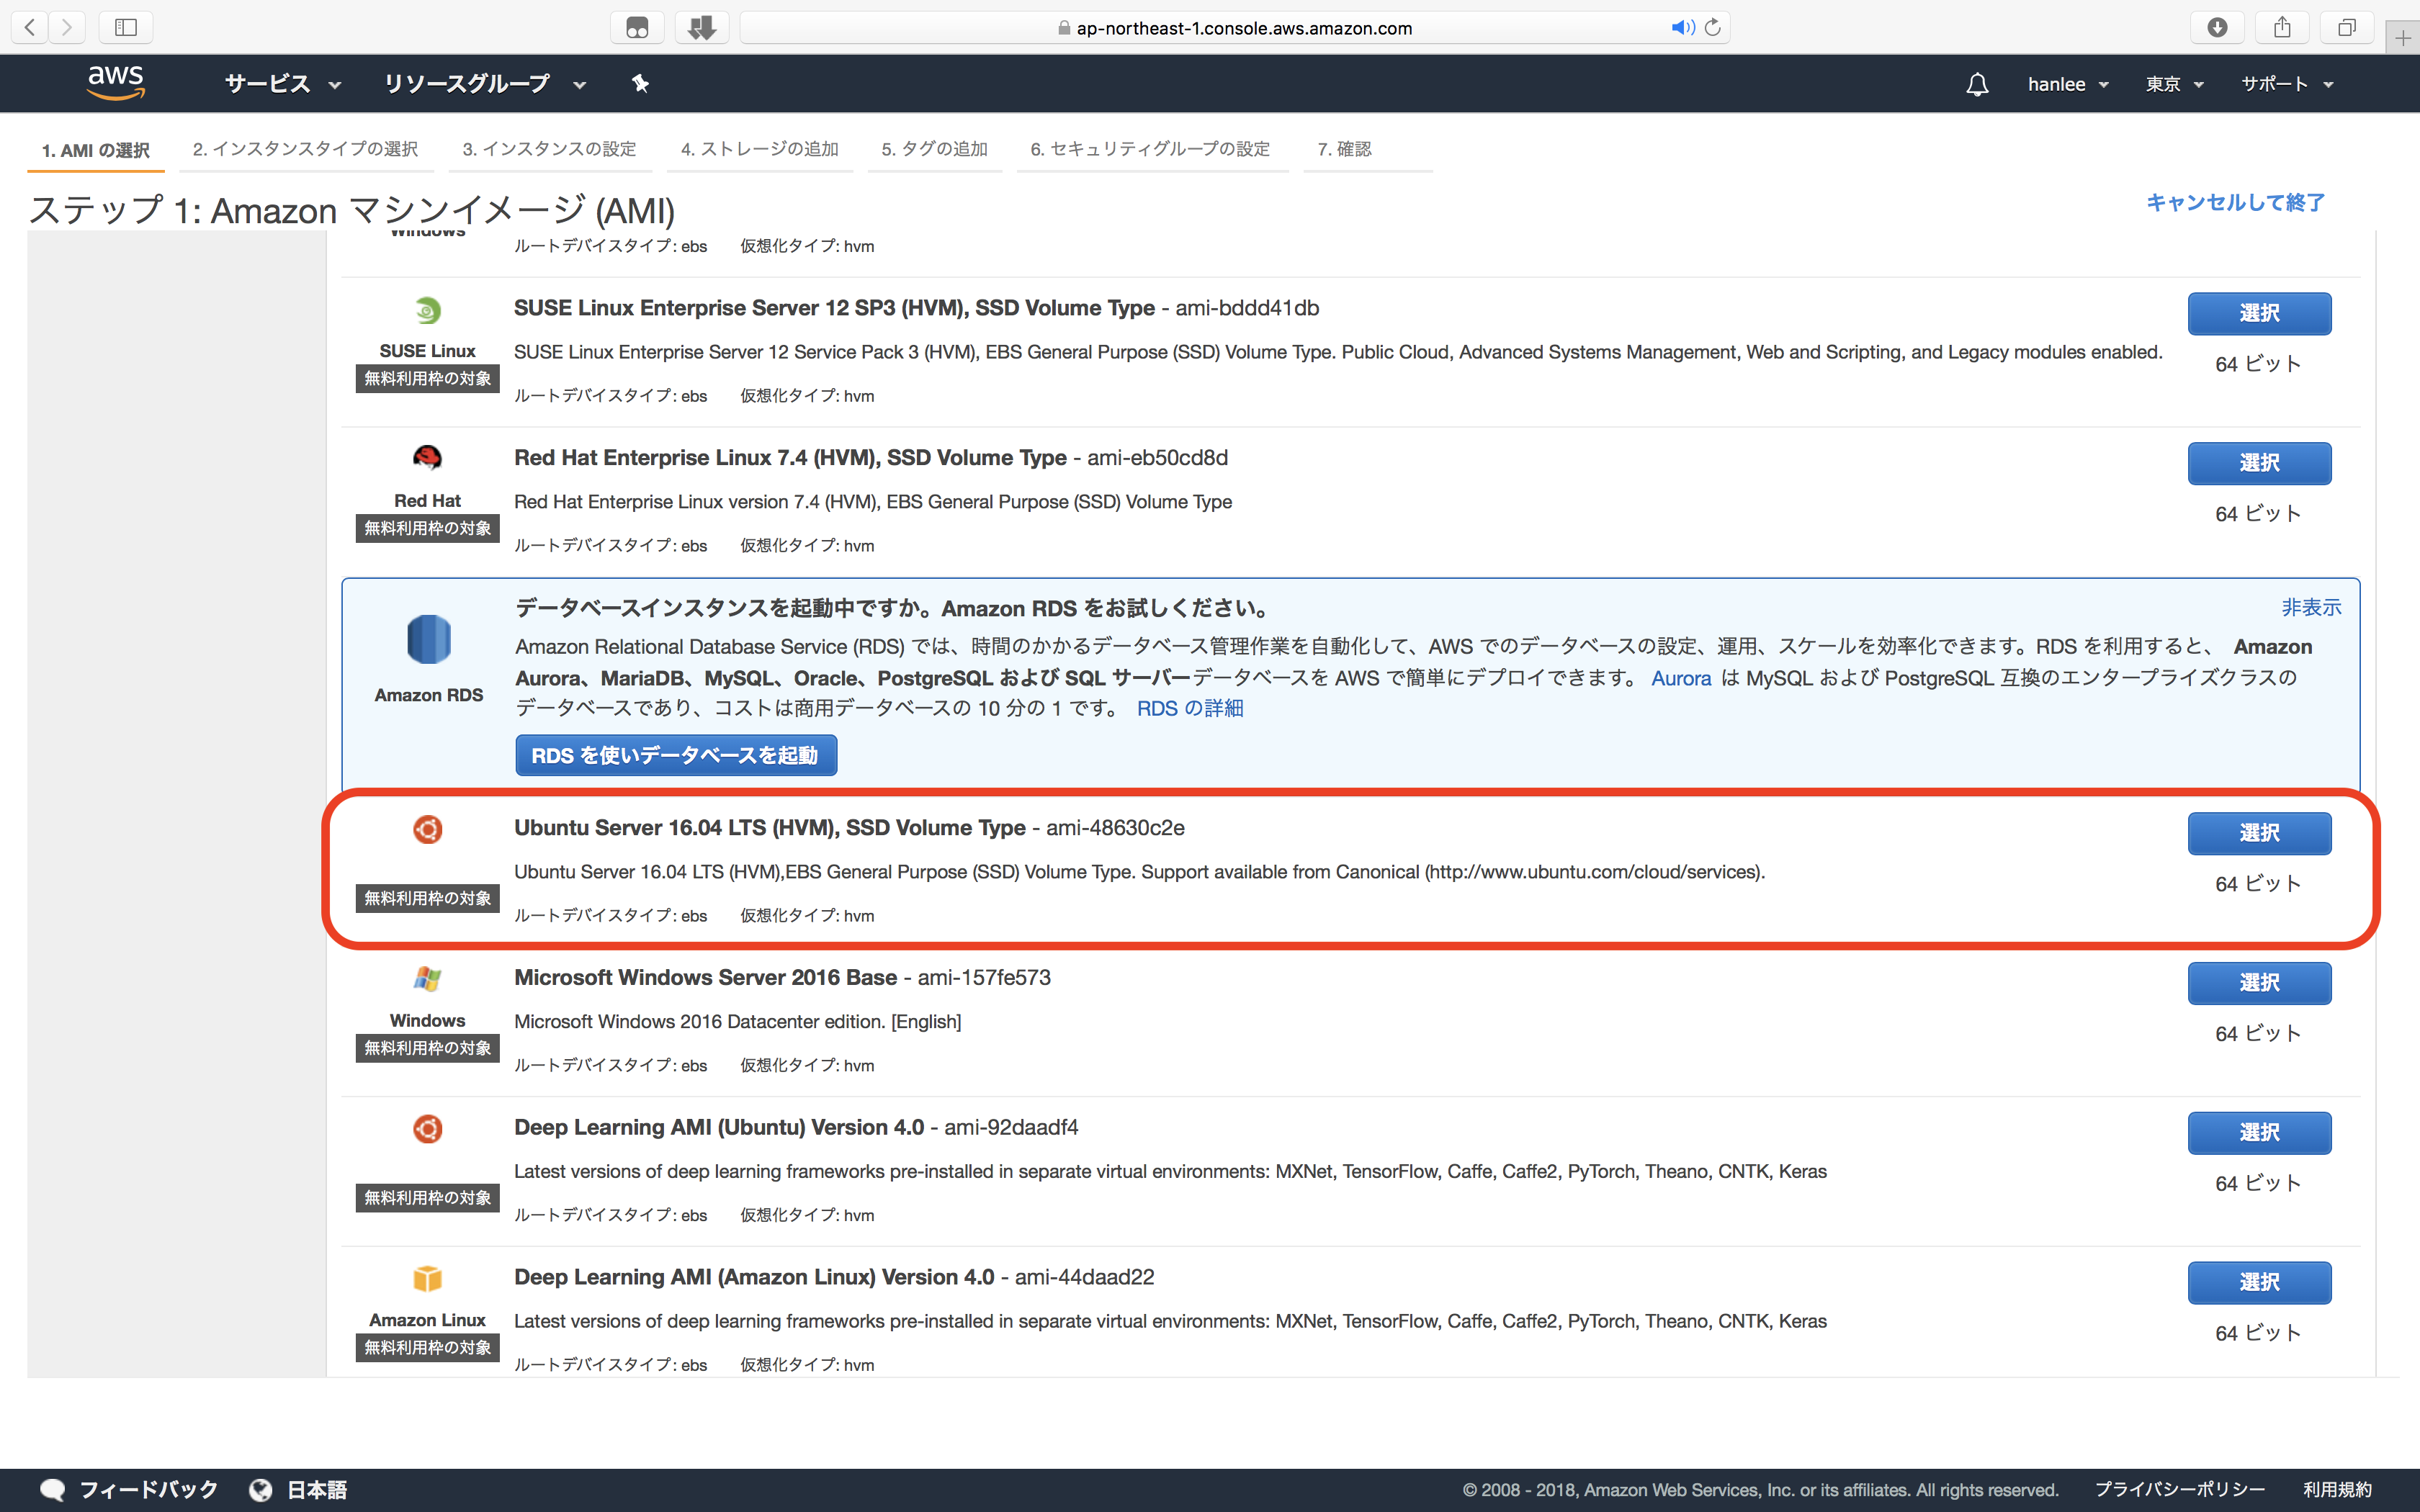
### Step 1:選擇系統映像檔(AMI),在這裡下拉找到(Ubuntu Server 16.04 LTS (HVM), SSD Volume Type)的映像檔後按(選択)
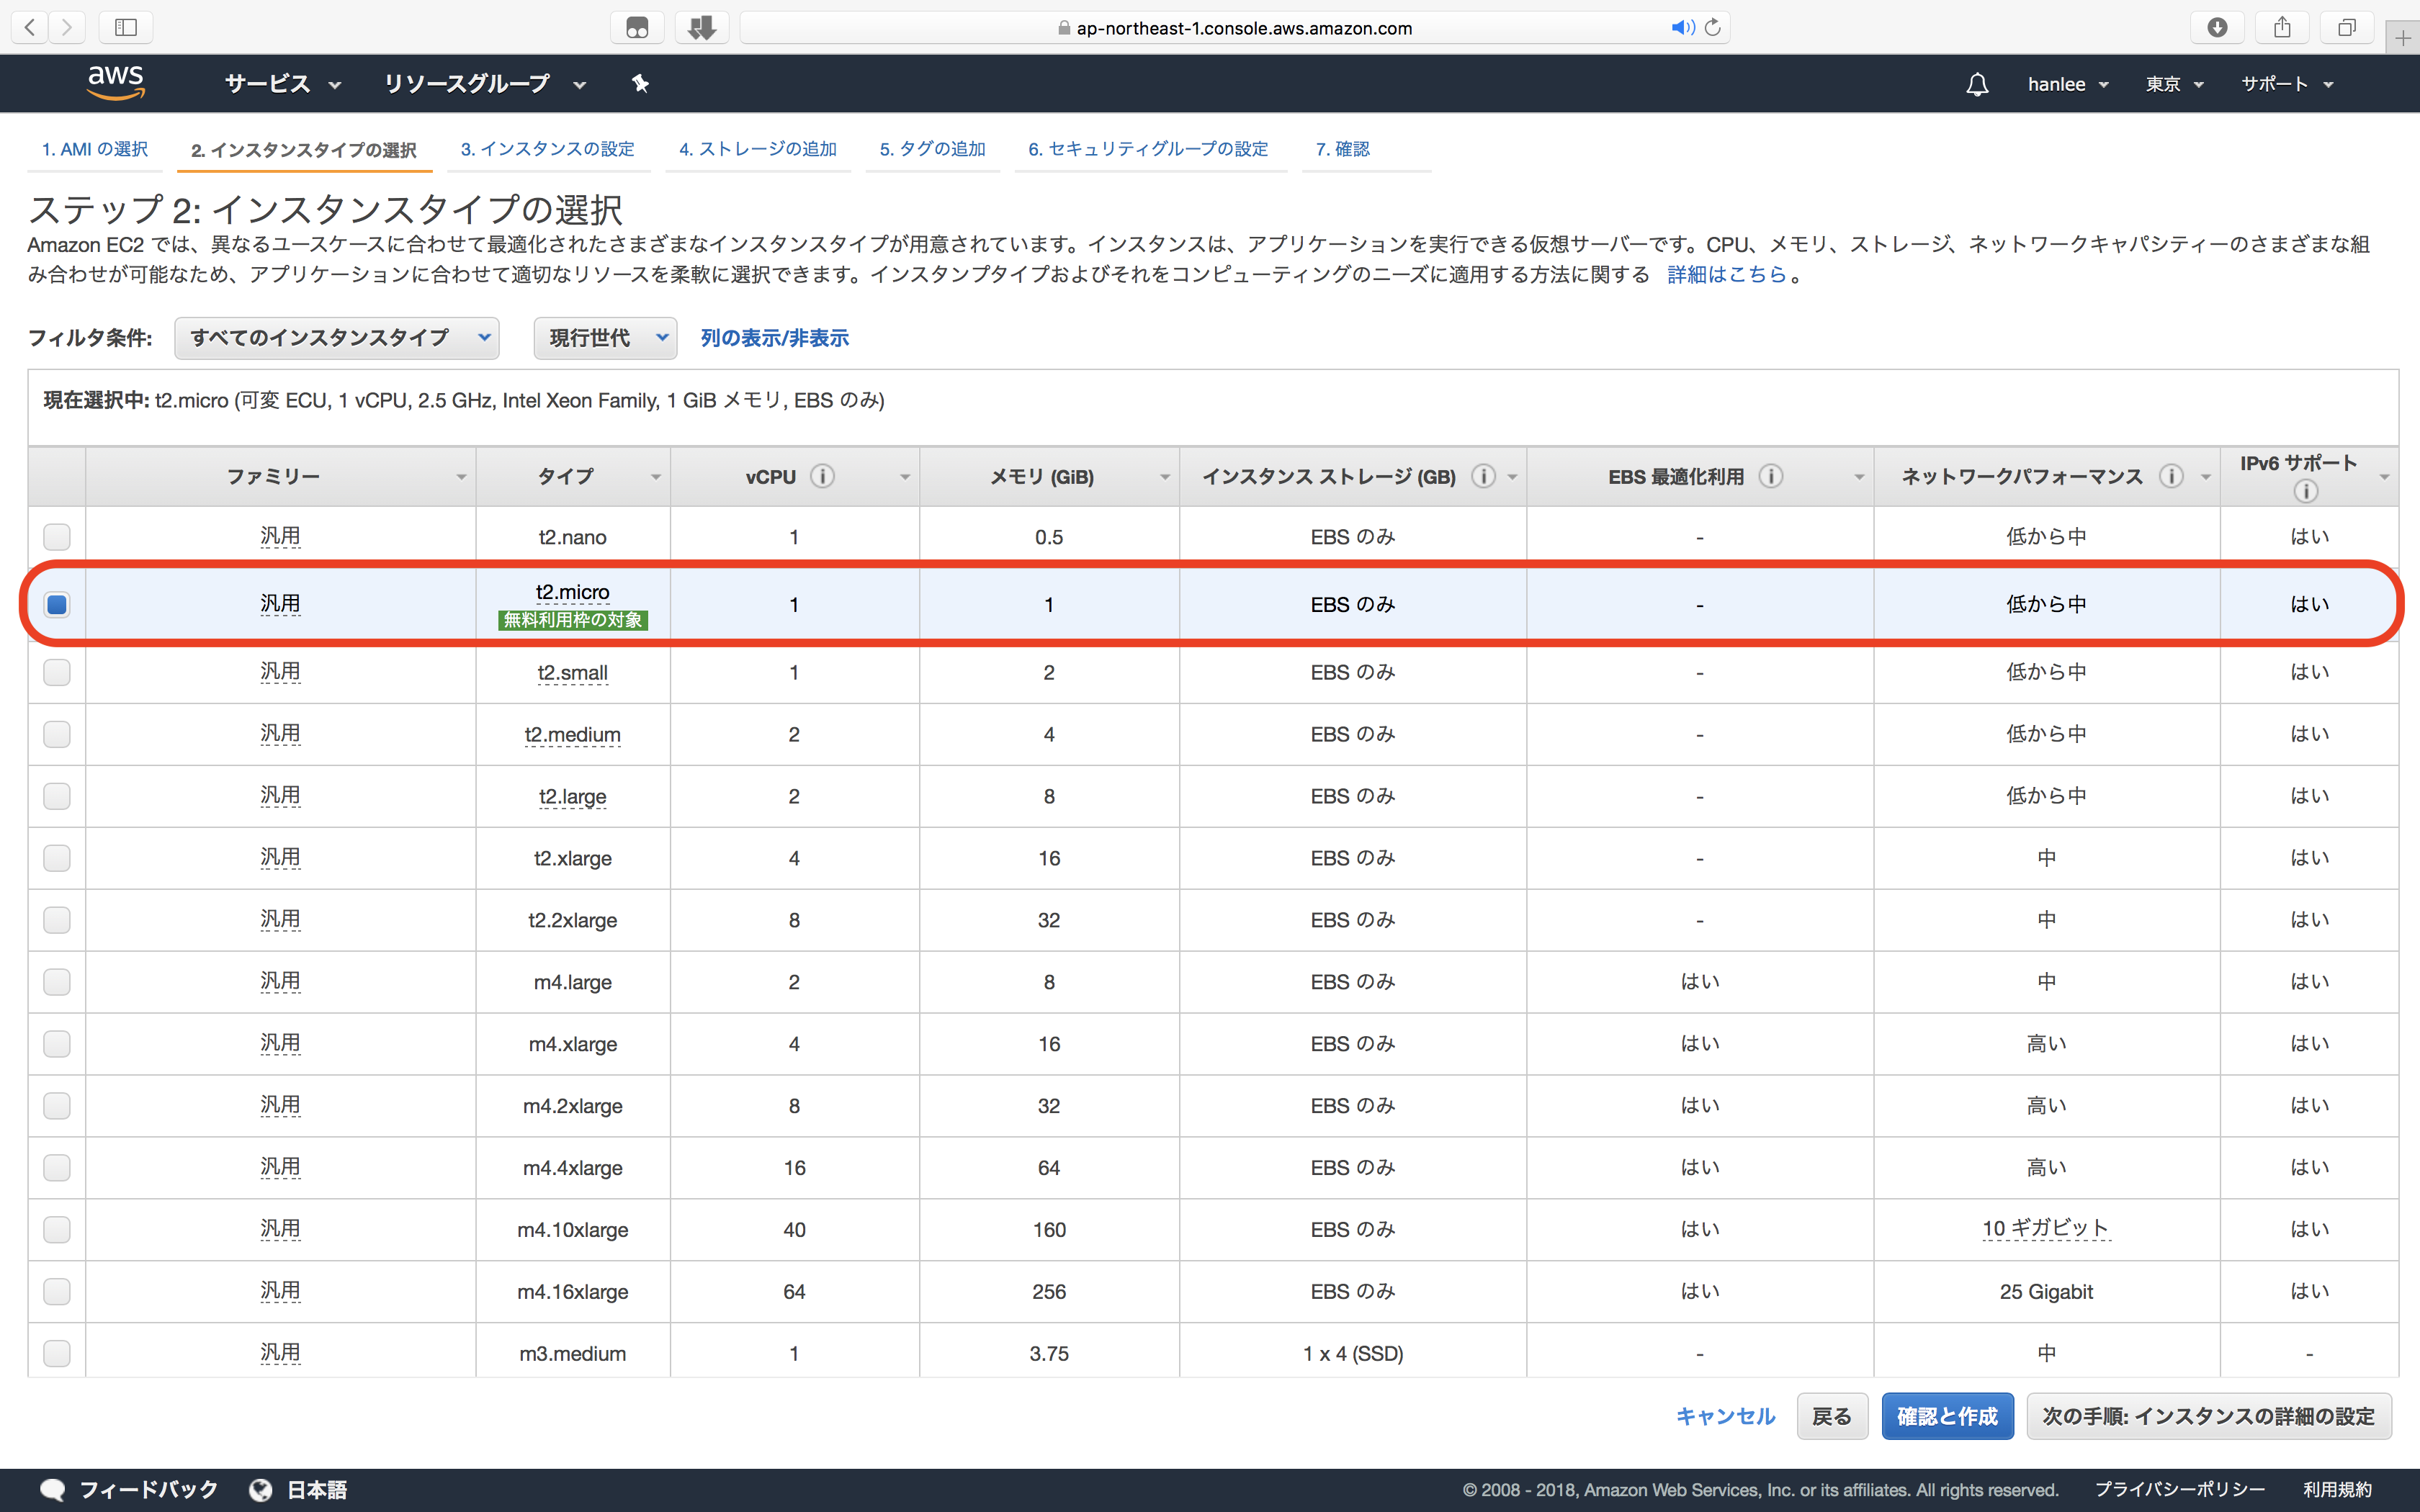
### Step 2:選擇系統配置,如果你要免費方案的話目前只有(t2.micro)可以選,其他都是要額外收費的方案
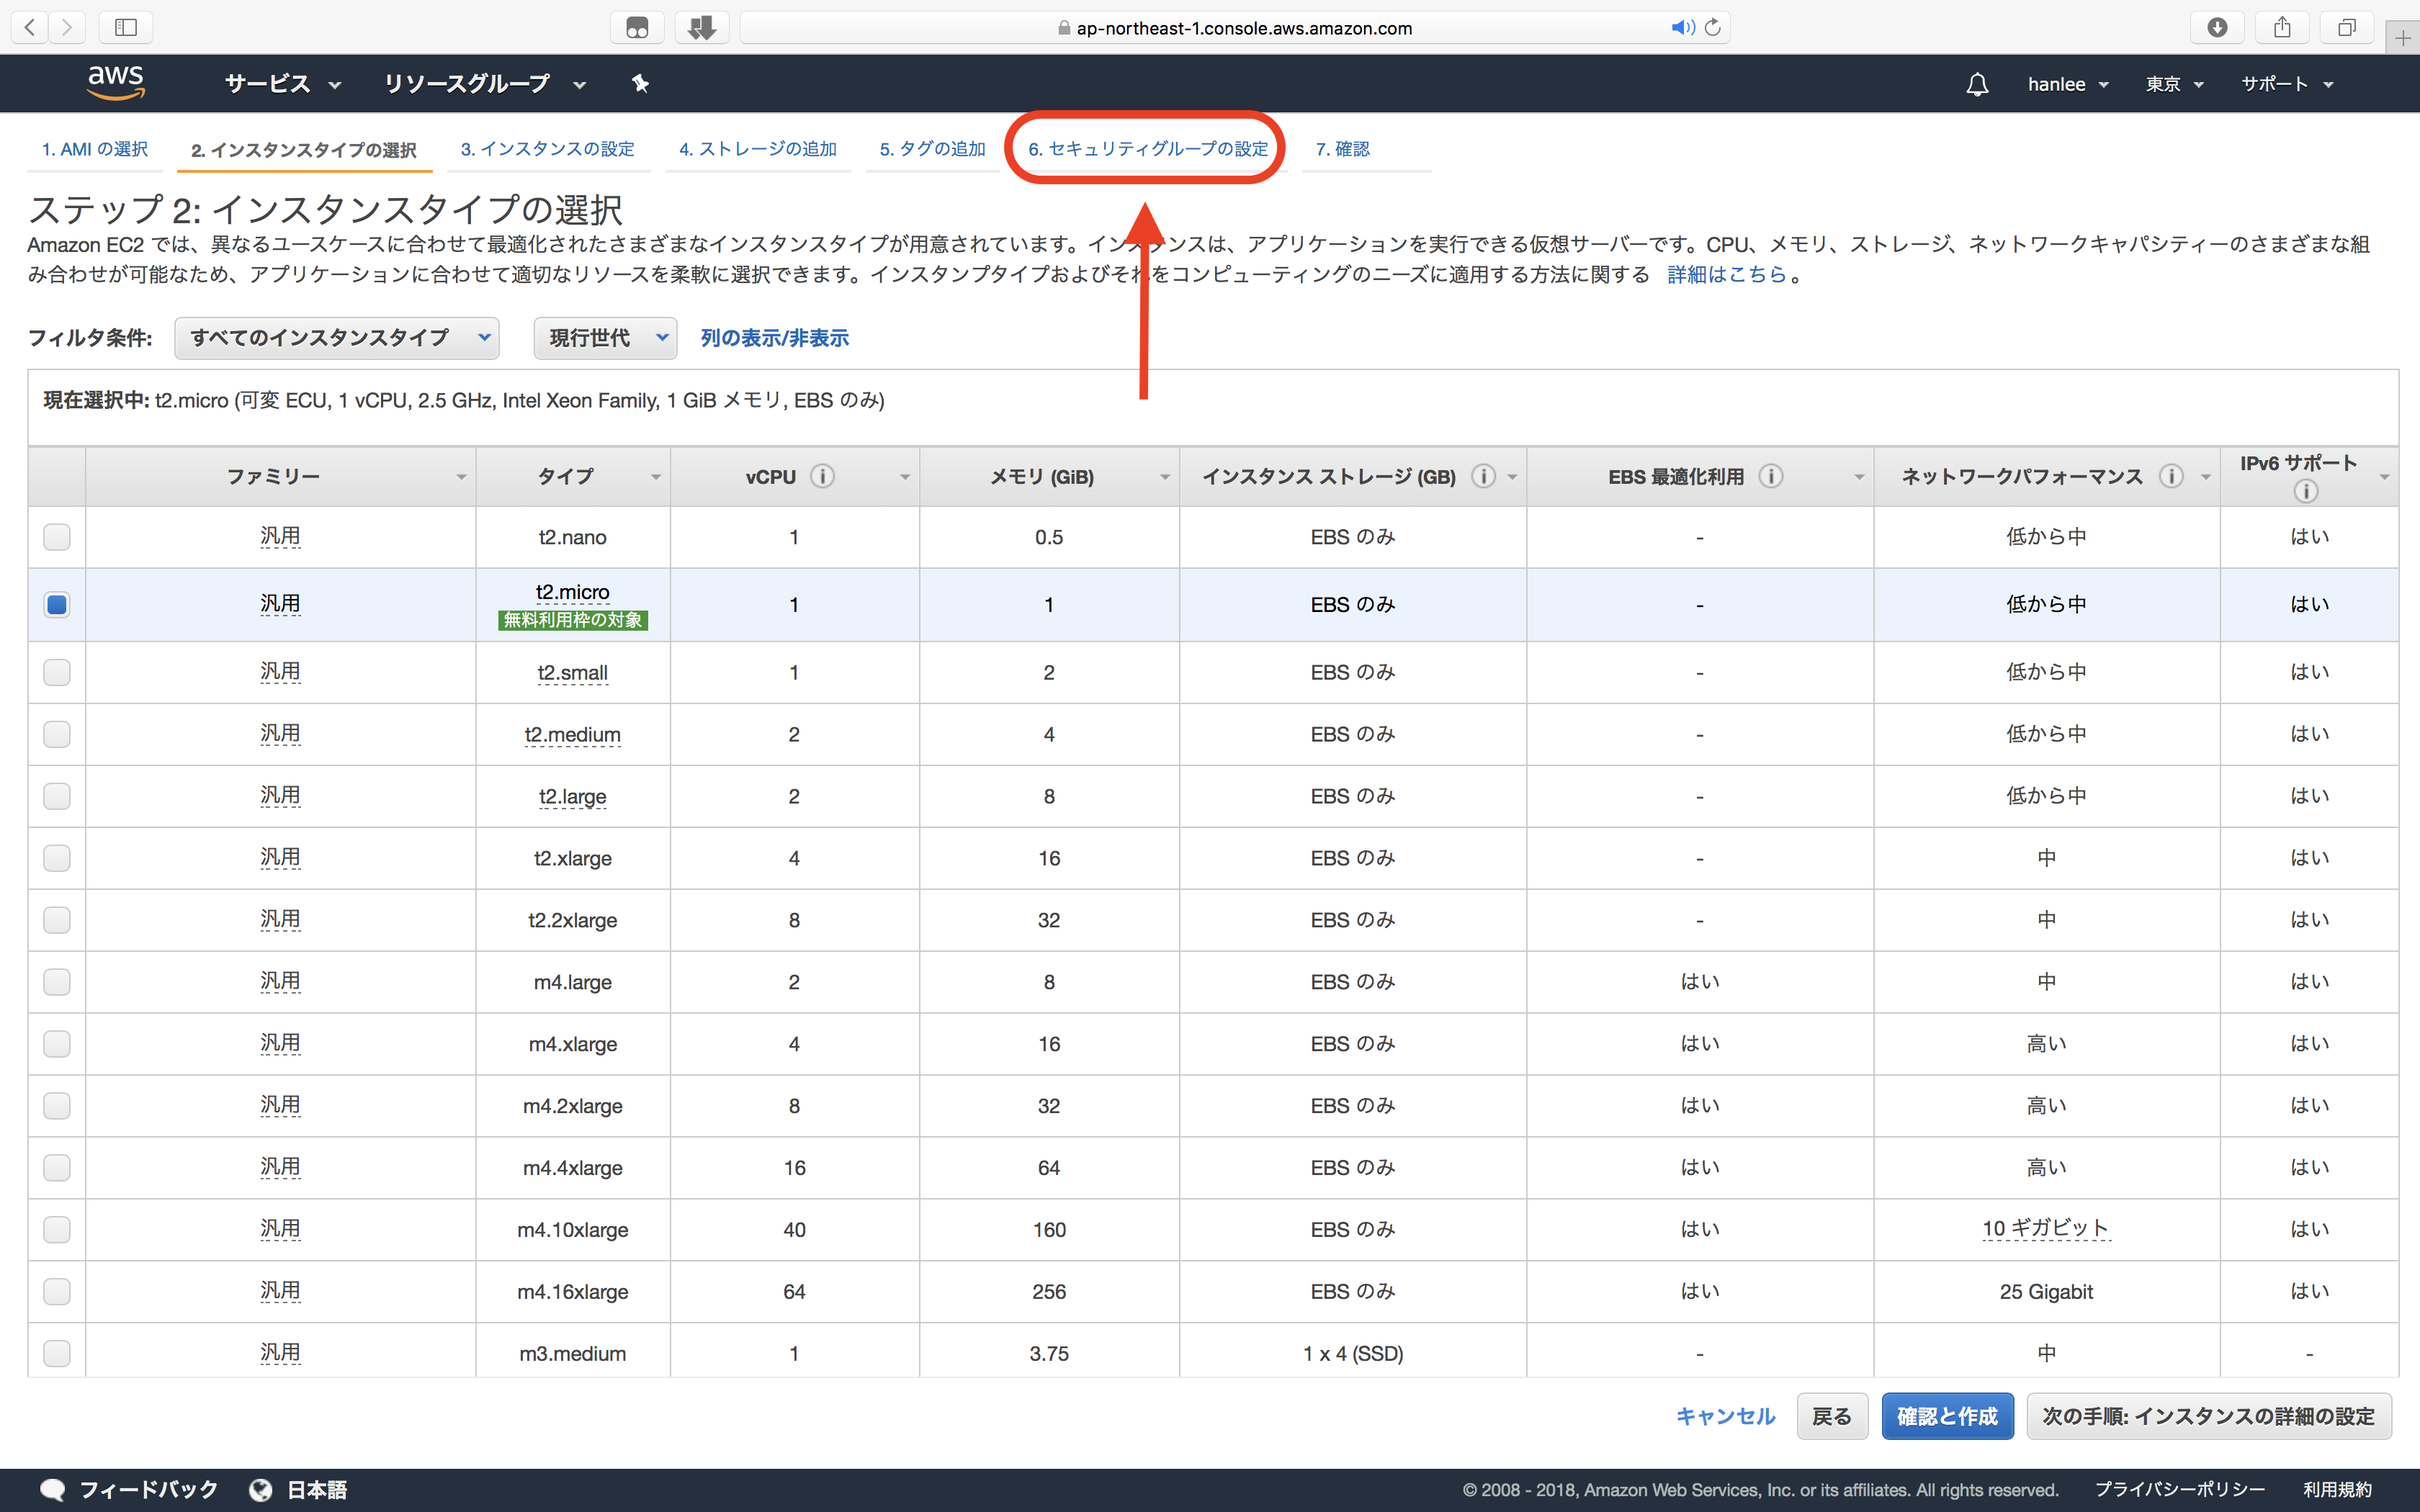
### Step 3:在這裡我們直接跳到第六個步驟,新增防火牆規則
接下來新增一條規則,如下圖:
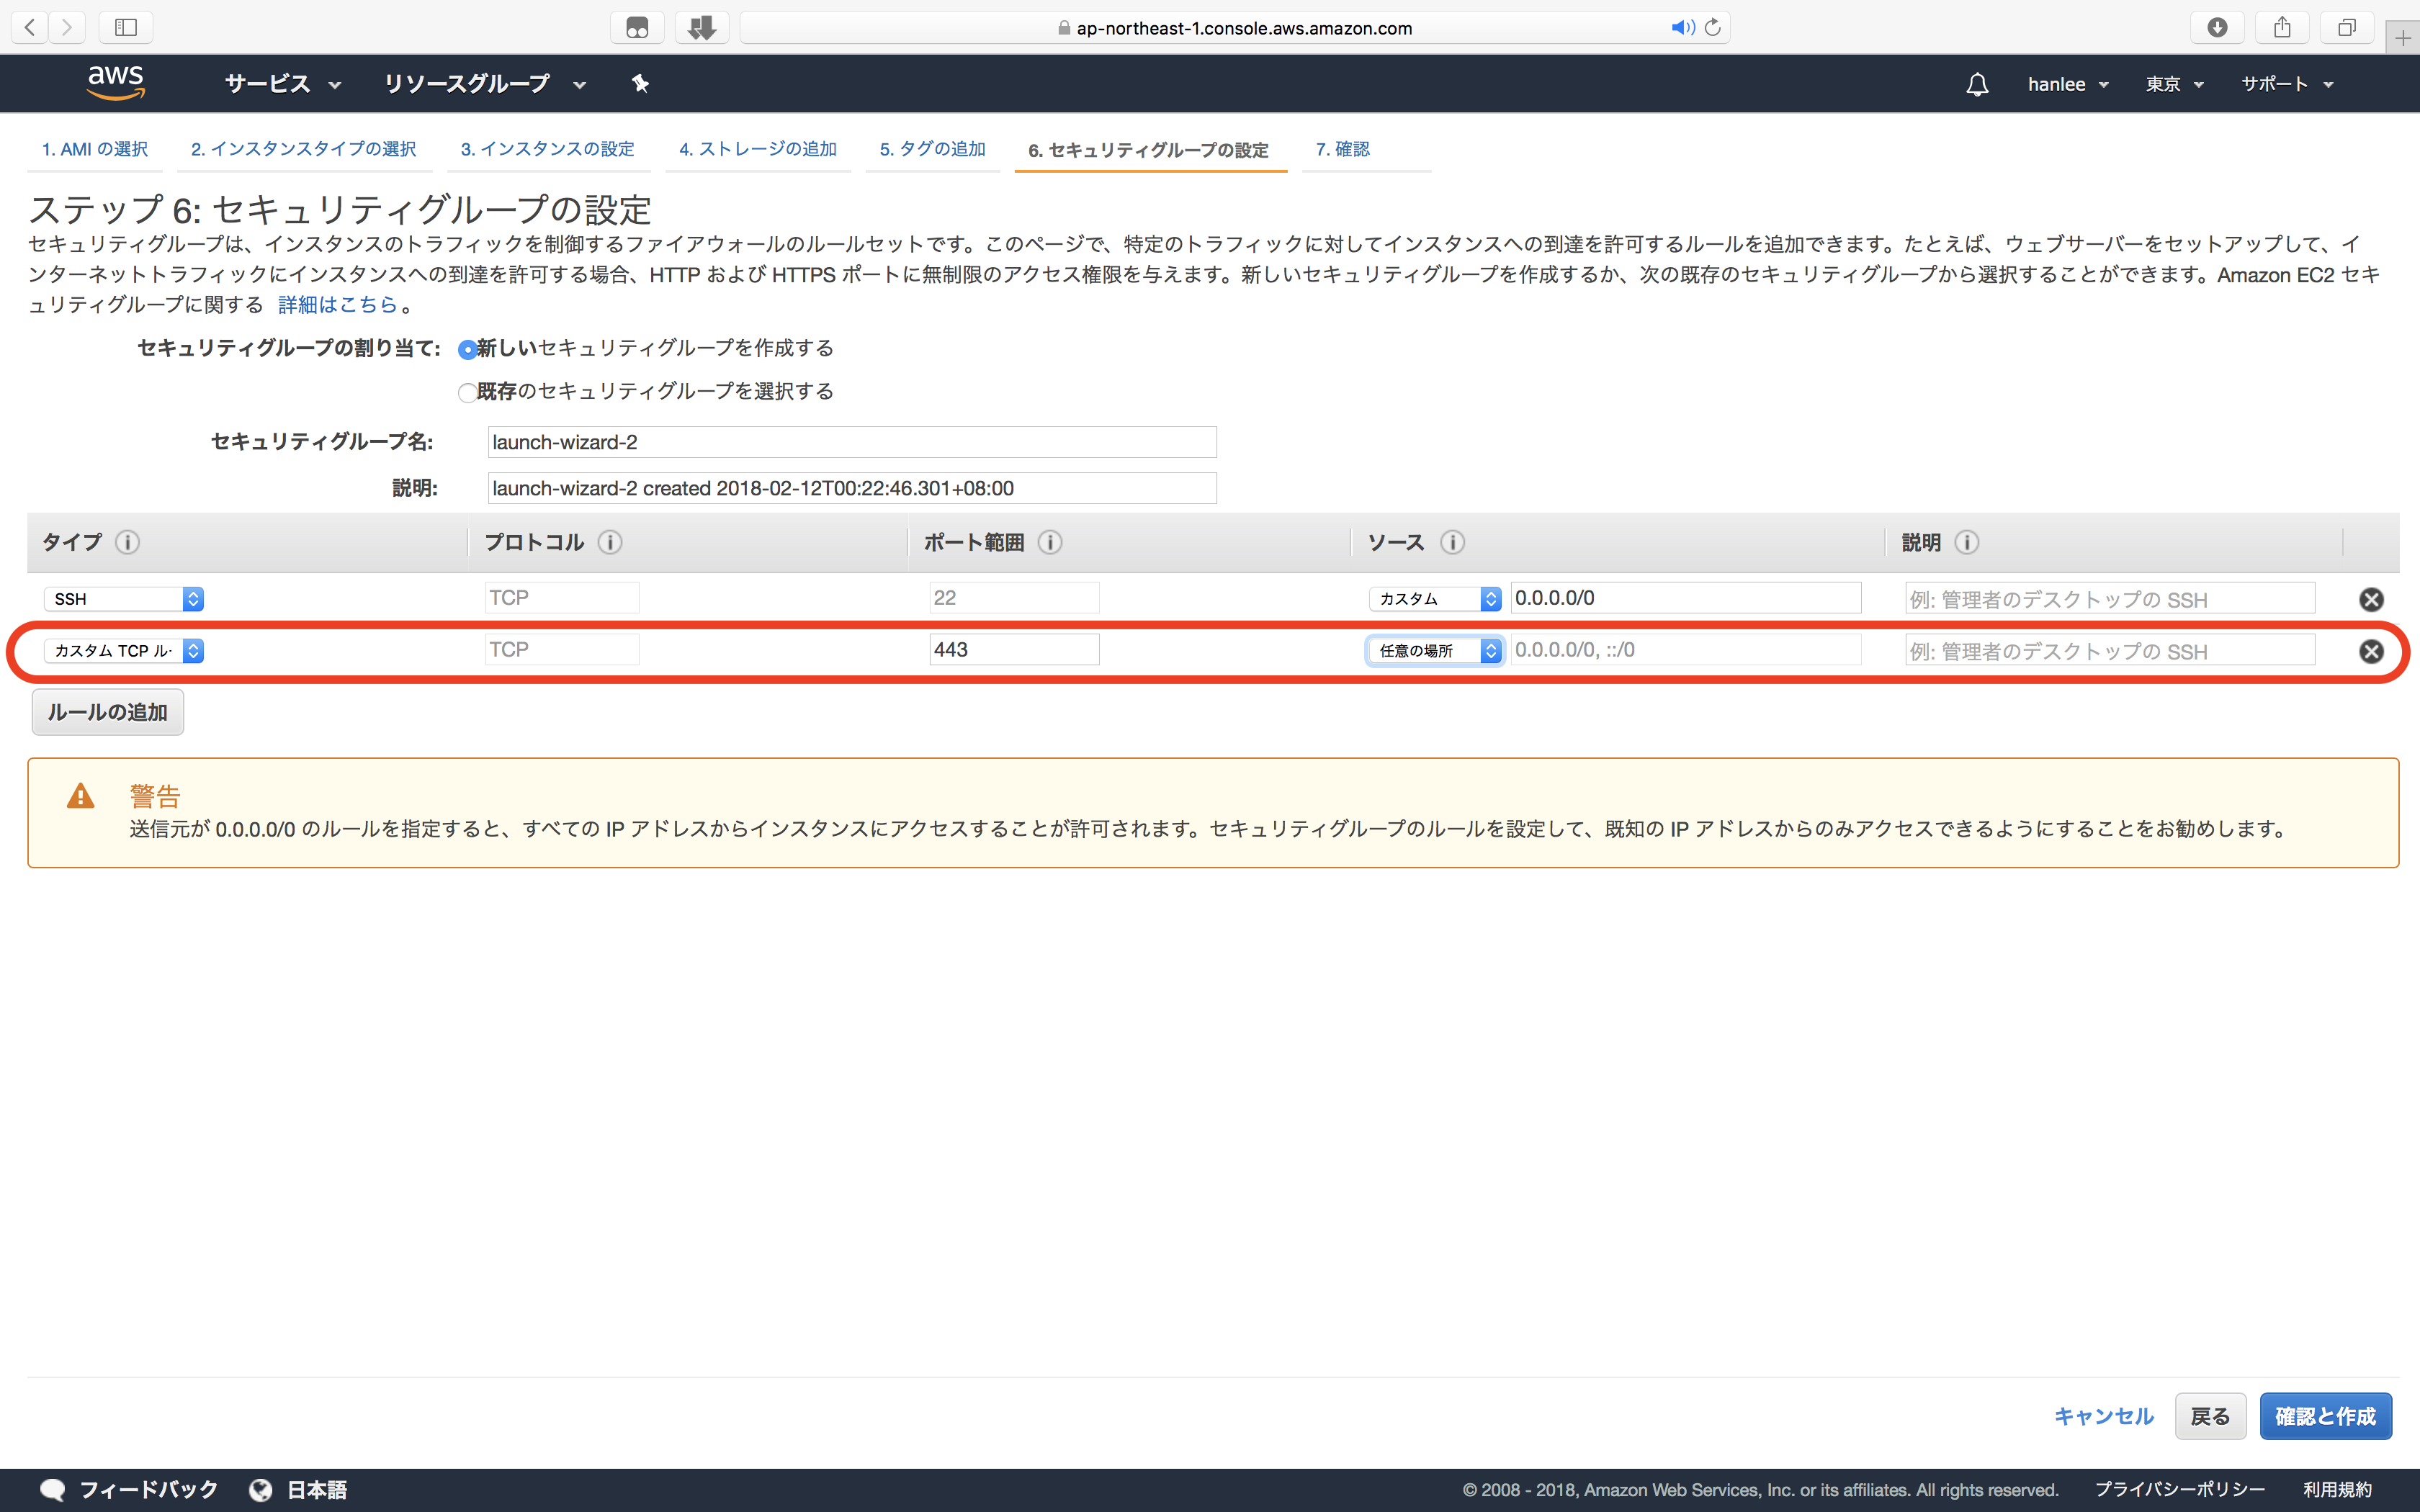
之後按下右下角的(確認と作成)進入下一個步驟。
### Step 4:確認後按下(作成)
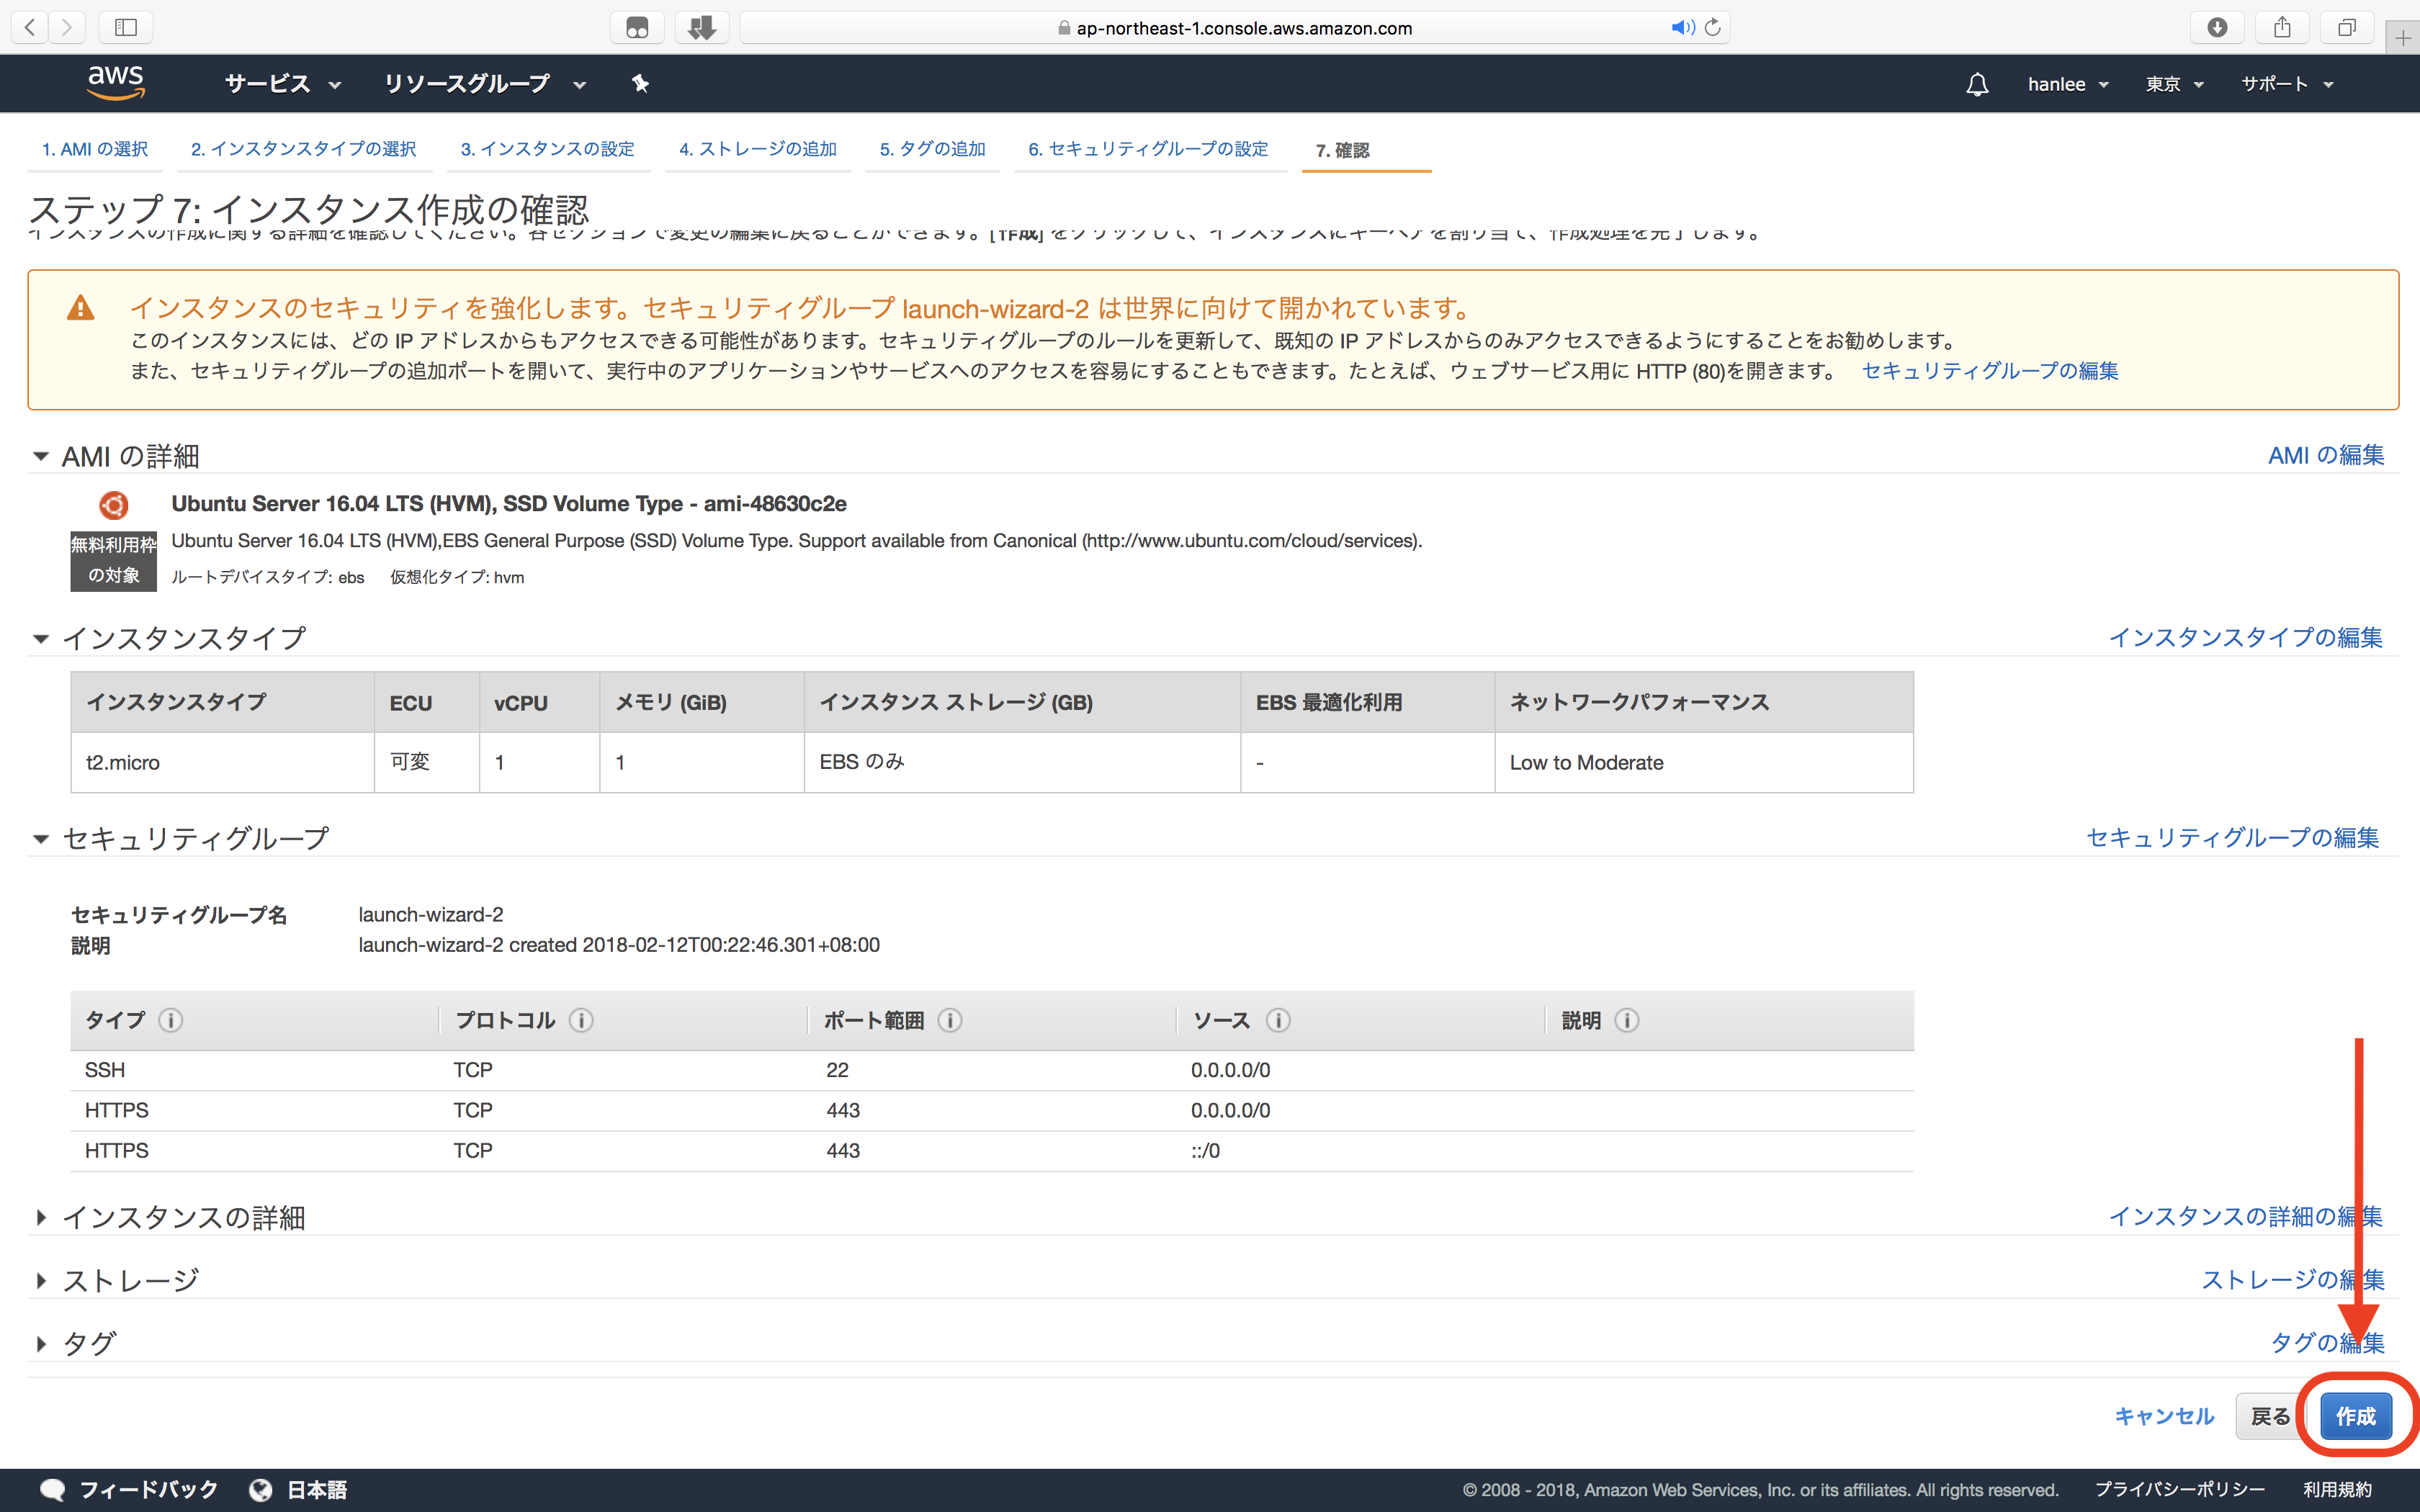
之後他就會建立一個金鑰給你下載,作為以後登入的認證。
## 連線並設定 Pivpn
### Step 1:選擇你要連線的虛擬機後按下(接続)
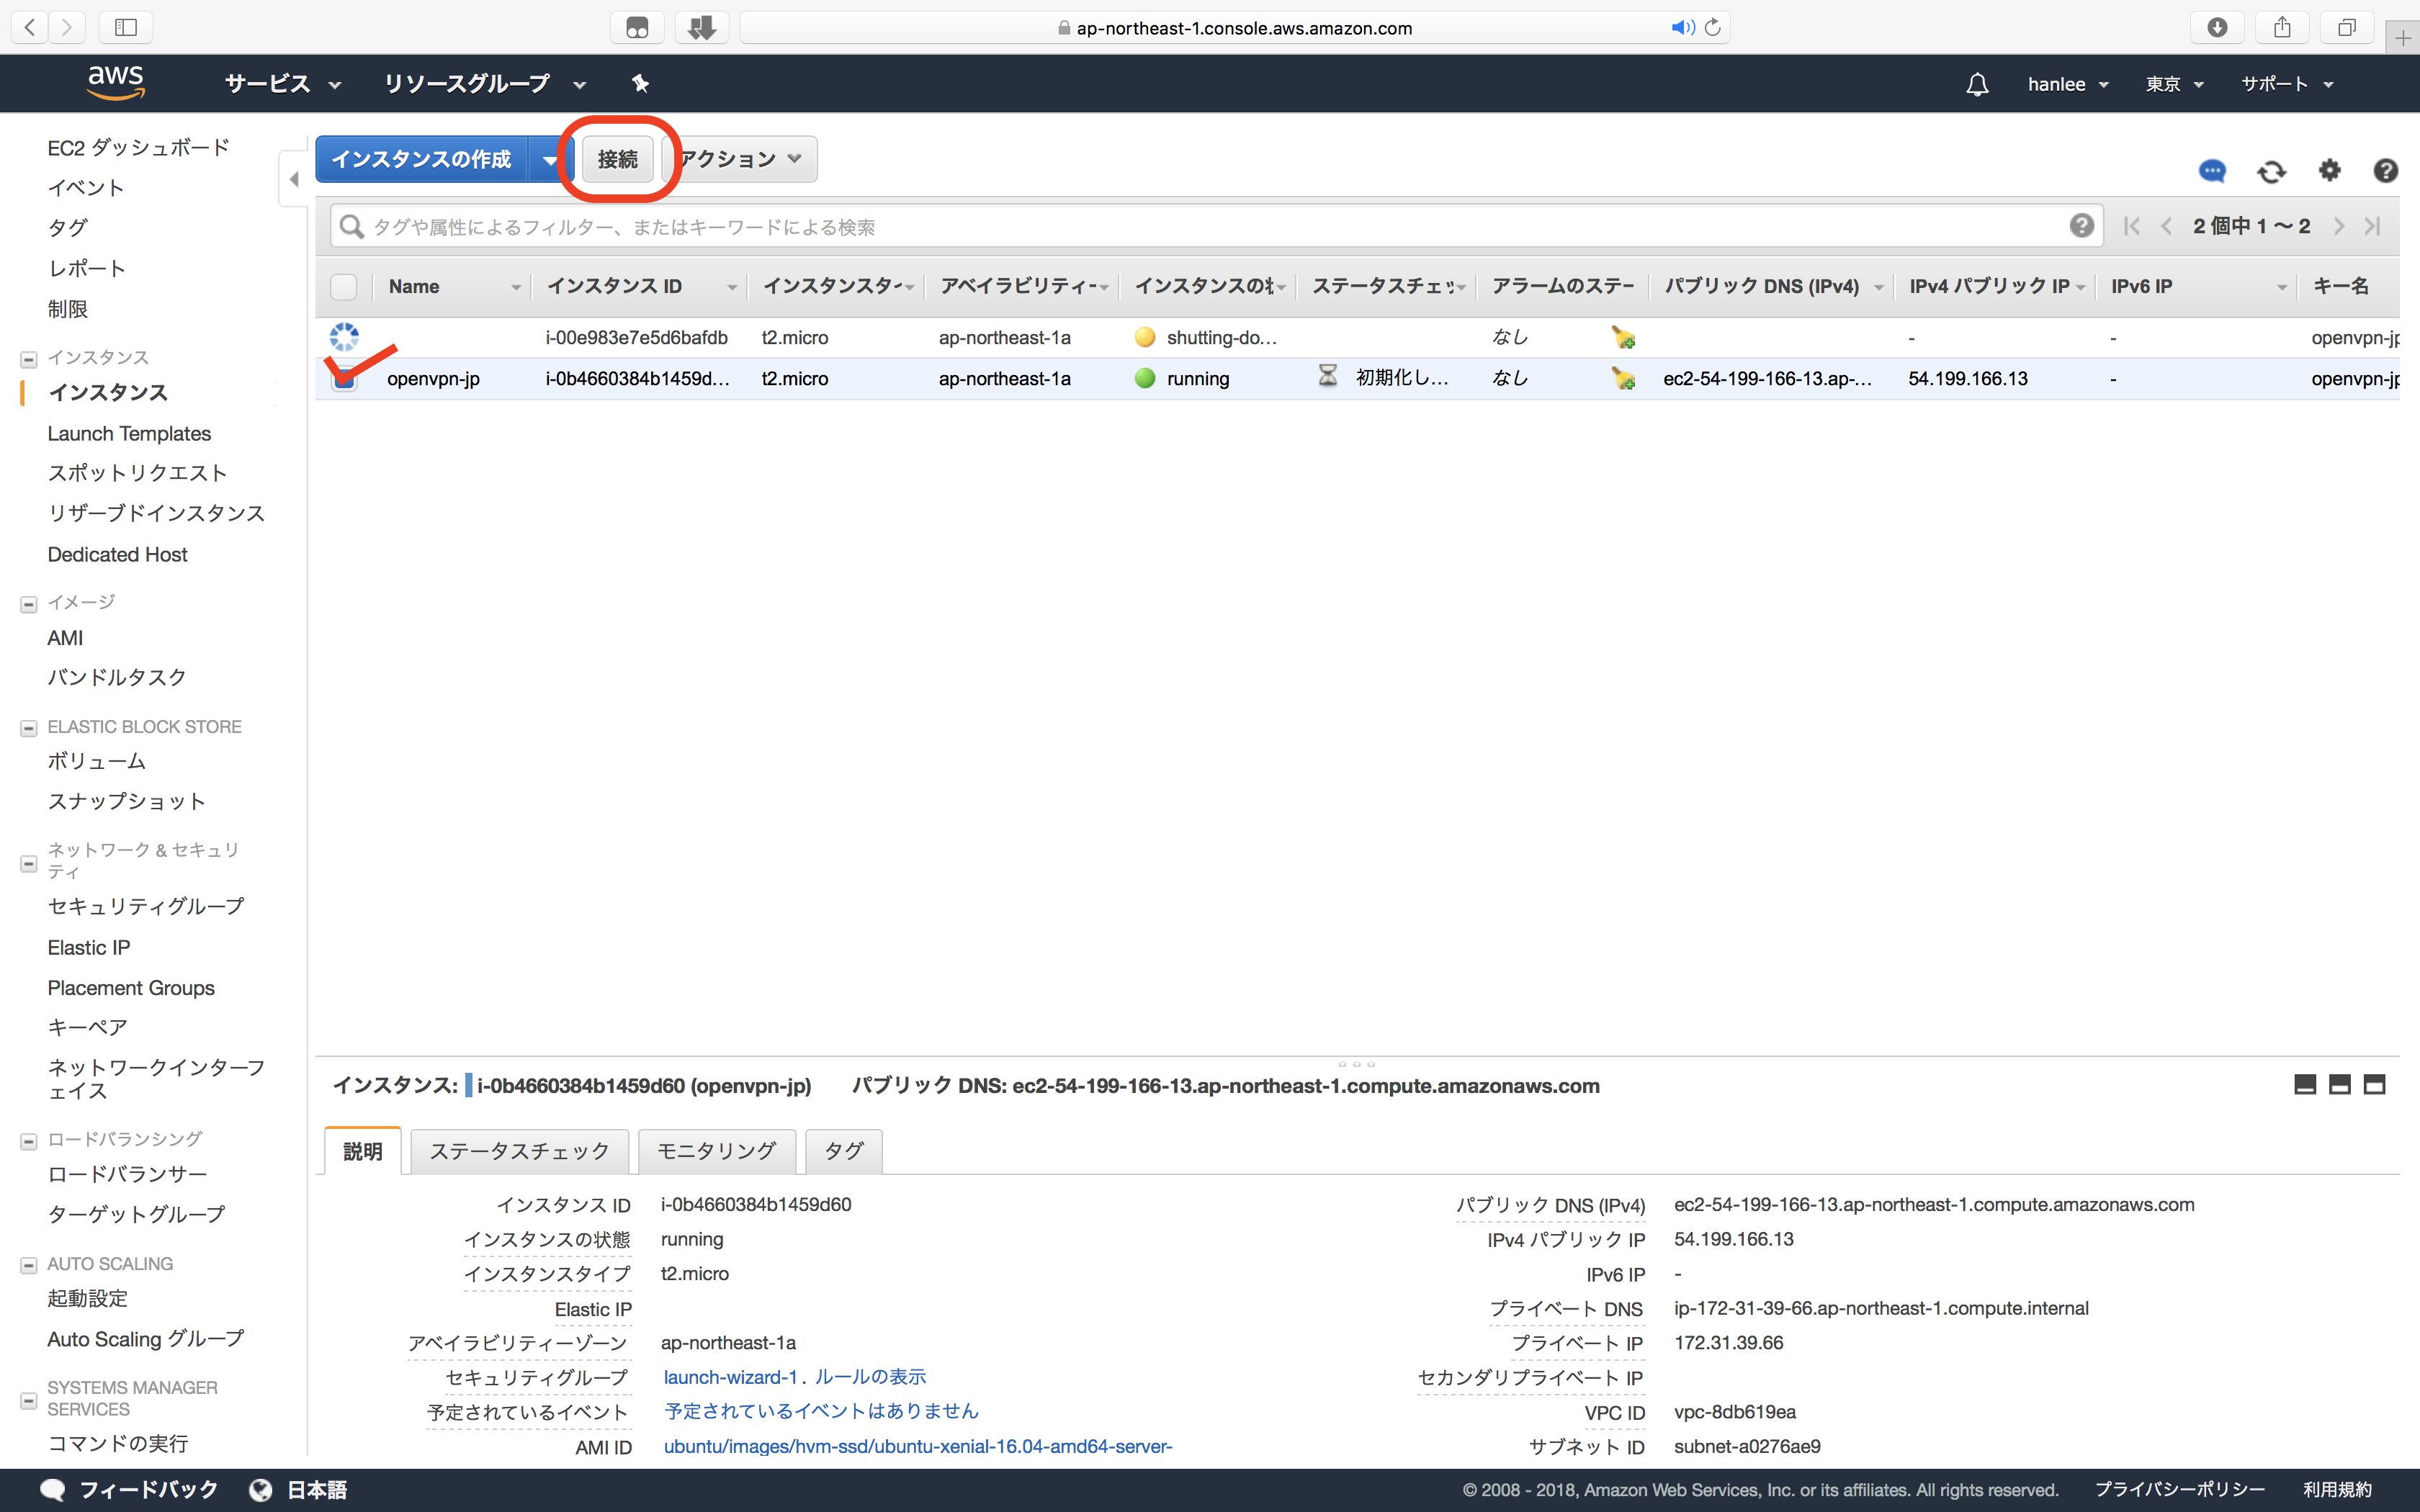
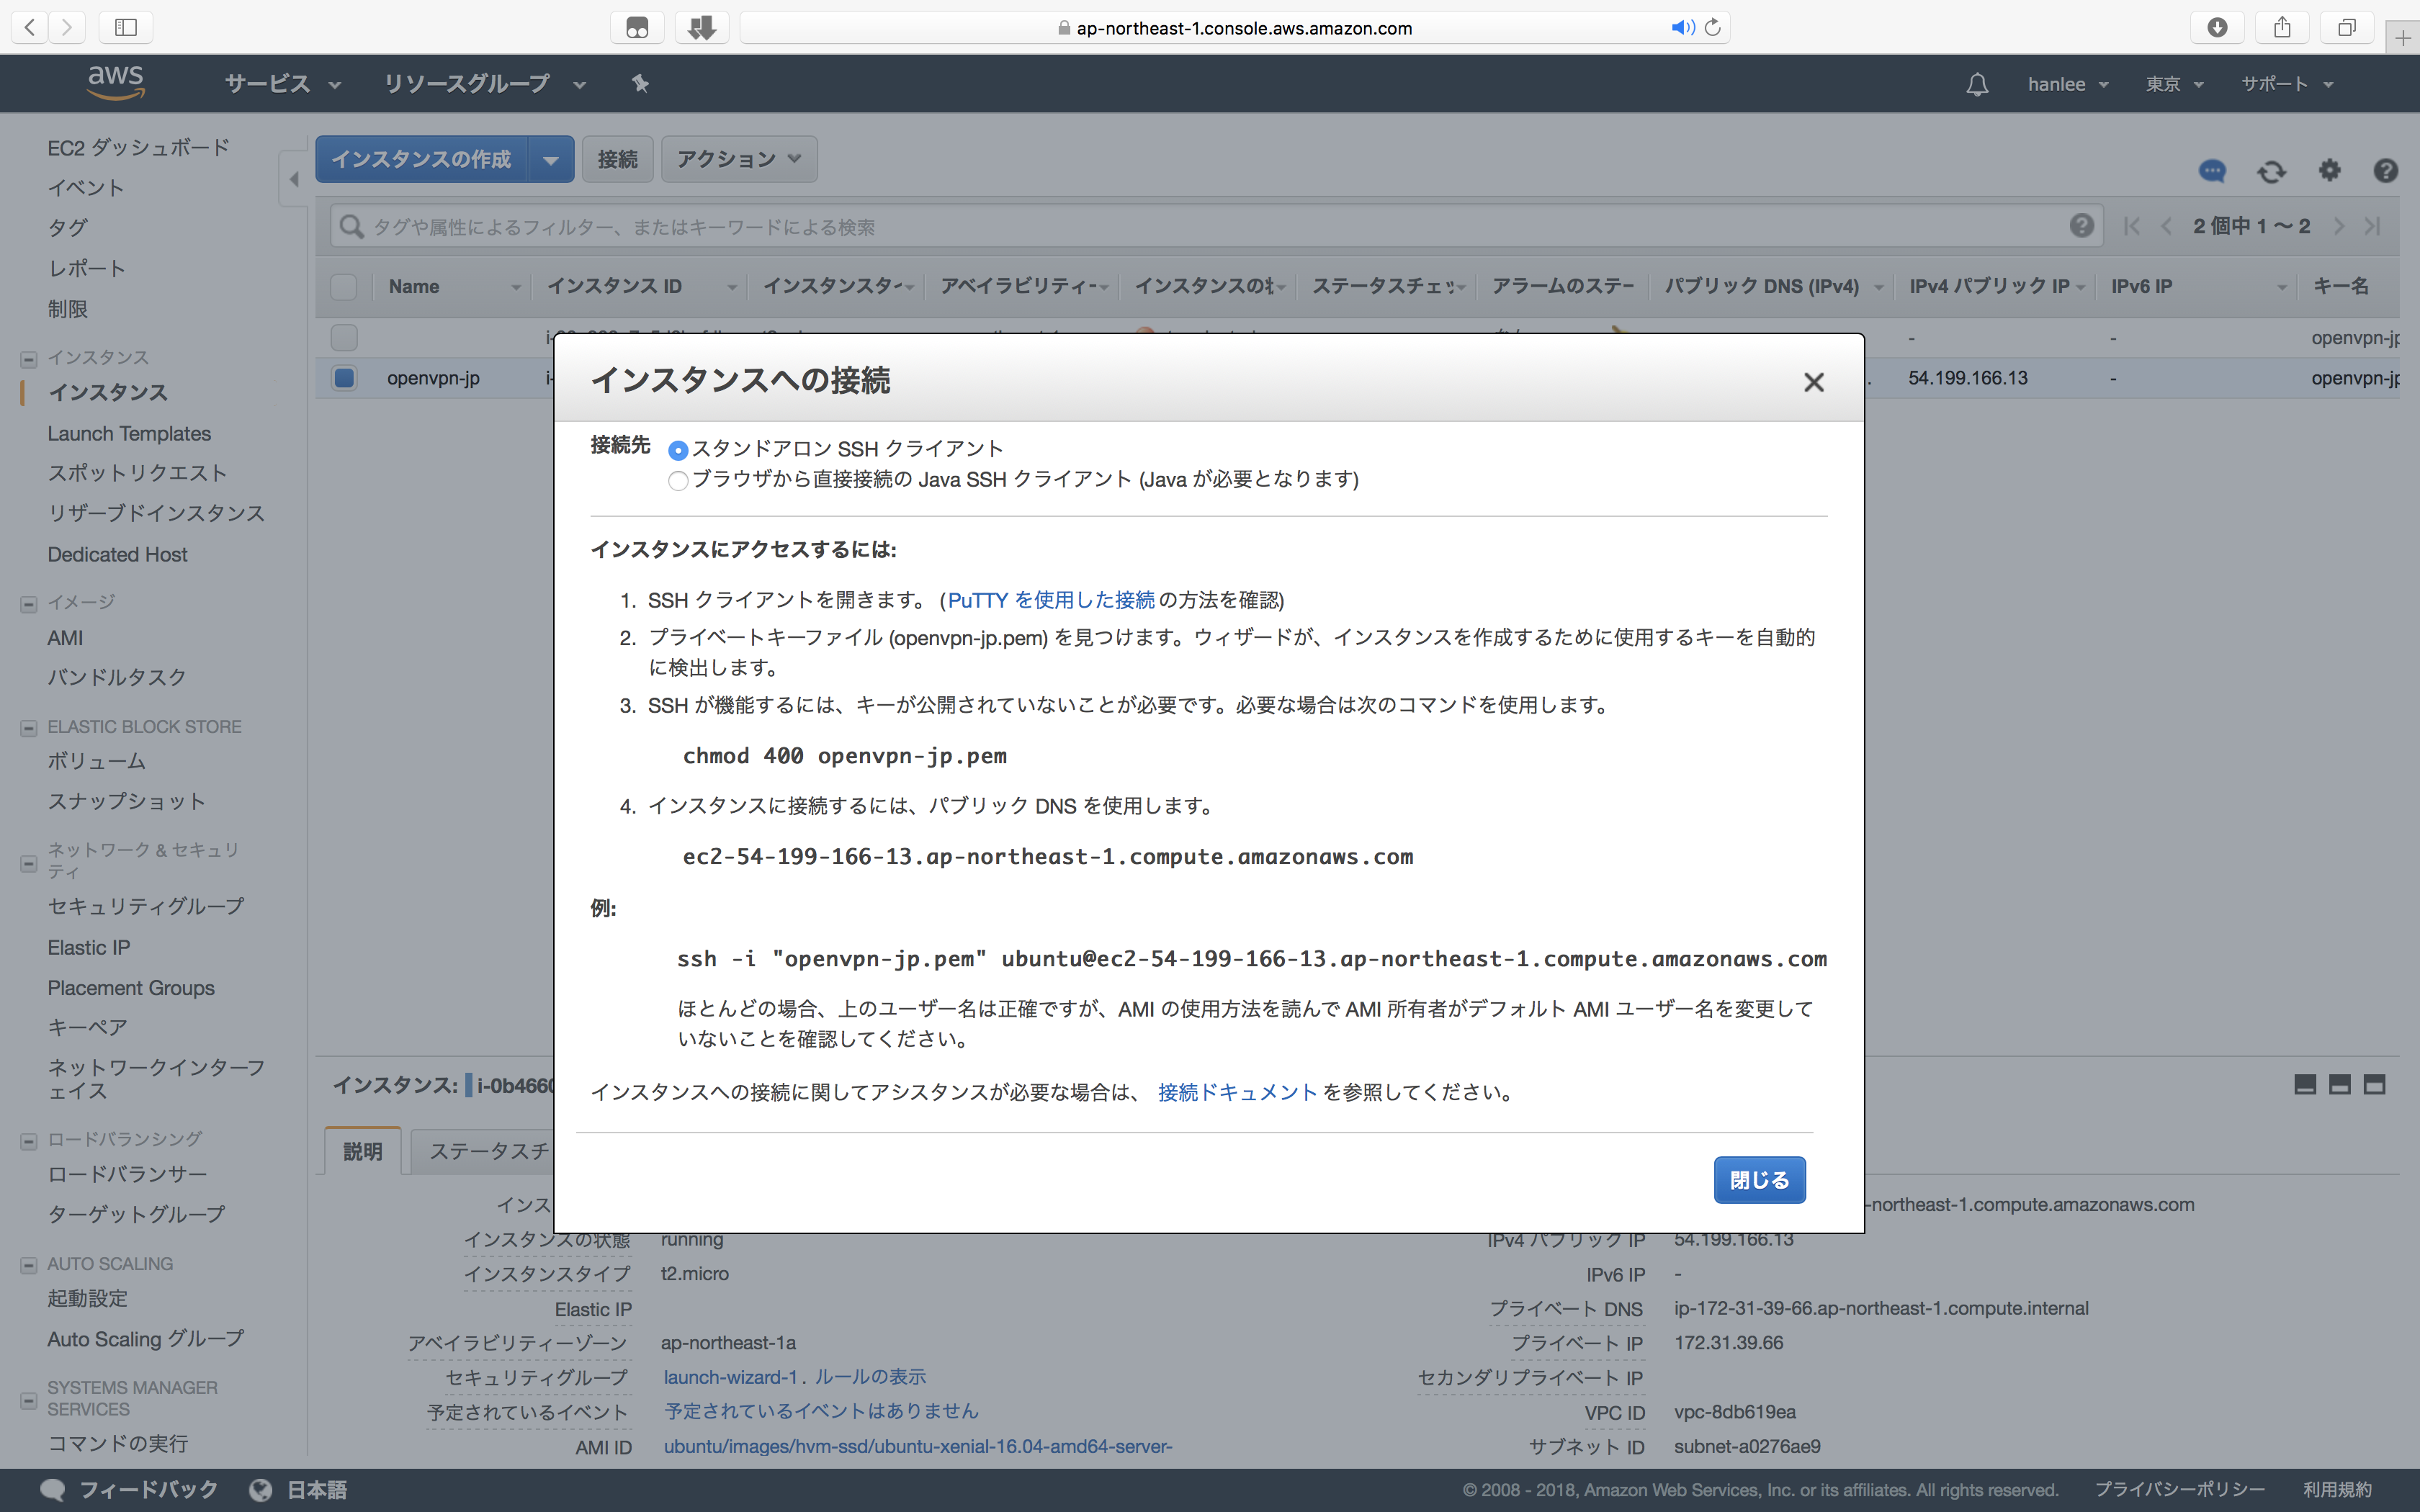
之後他就會顯示出連結的方法:
如果你是用 MacOS 或是 Linux 的話打開 Terminal 依照上面的指令:
切換到金鑰所在的目錄後更改權限:`chmod 400 <檔案名稱>.pem`
之後用 SSH 連線上伺服器:`ssh -i <檔案名稱>.pem ubuntu@<你的Amazon伺服器區域名稱>.compute.amazonaws.com`
第一次連線時會出現確認畫面,請輸入 Yes。
如果是 Windows 用戶的話請參考以下文件:[https://docs.aws.amazon.com/zh_cn/AWSEC2/latest/UserGuide/putty.html?icmpid=docs_ec2_console](https://docs.aws.amazon.com/zh_cn/AWSEC2/latest/UserGuide/putty.html?icmpid=docs_ec2_console)
### Step 2:安裝 Pivpn
1. 切換到 root 帳戶:`sudo -i`
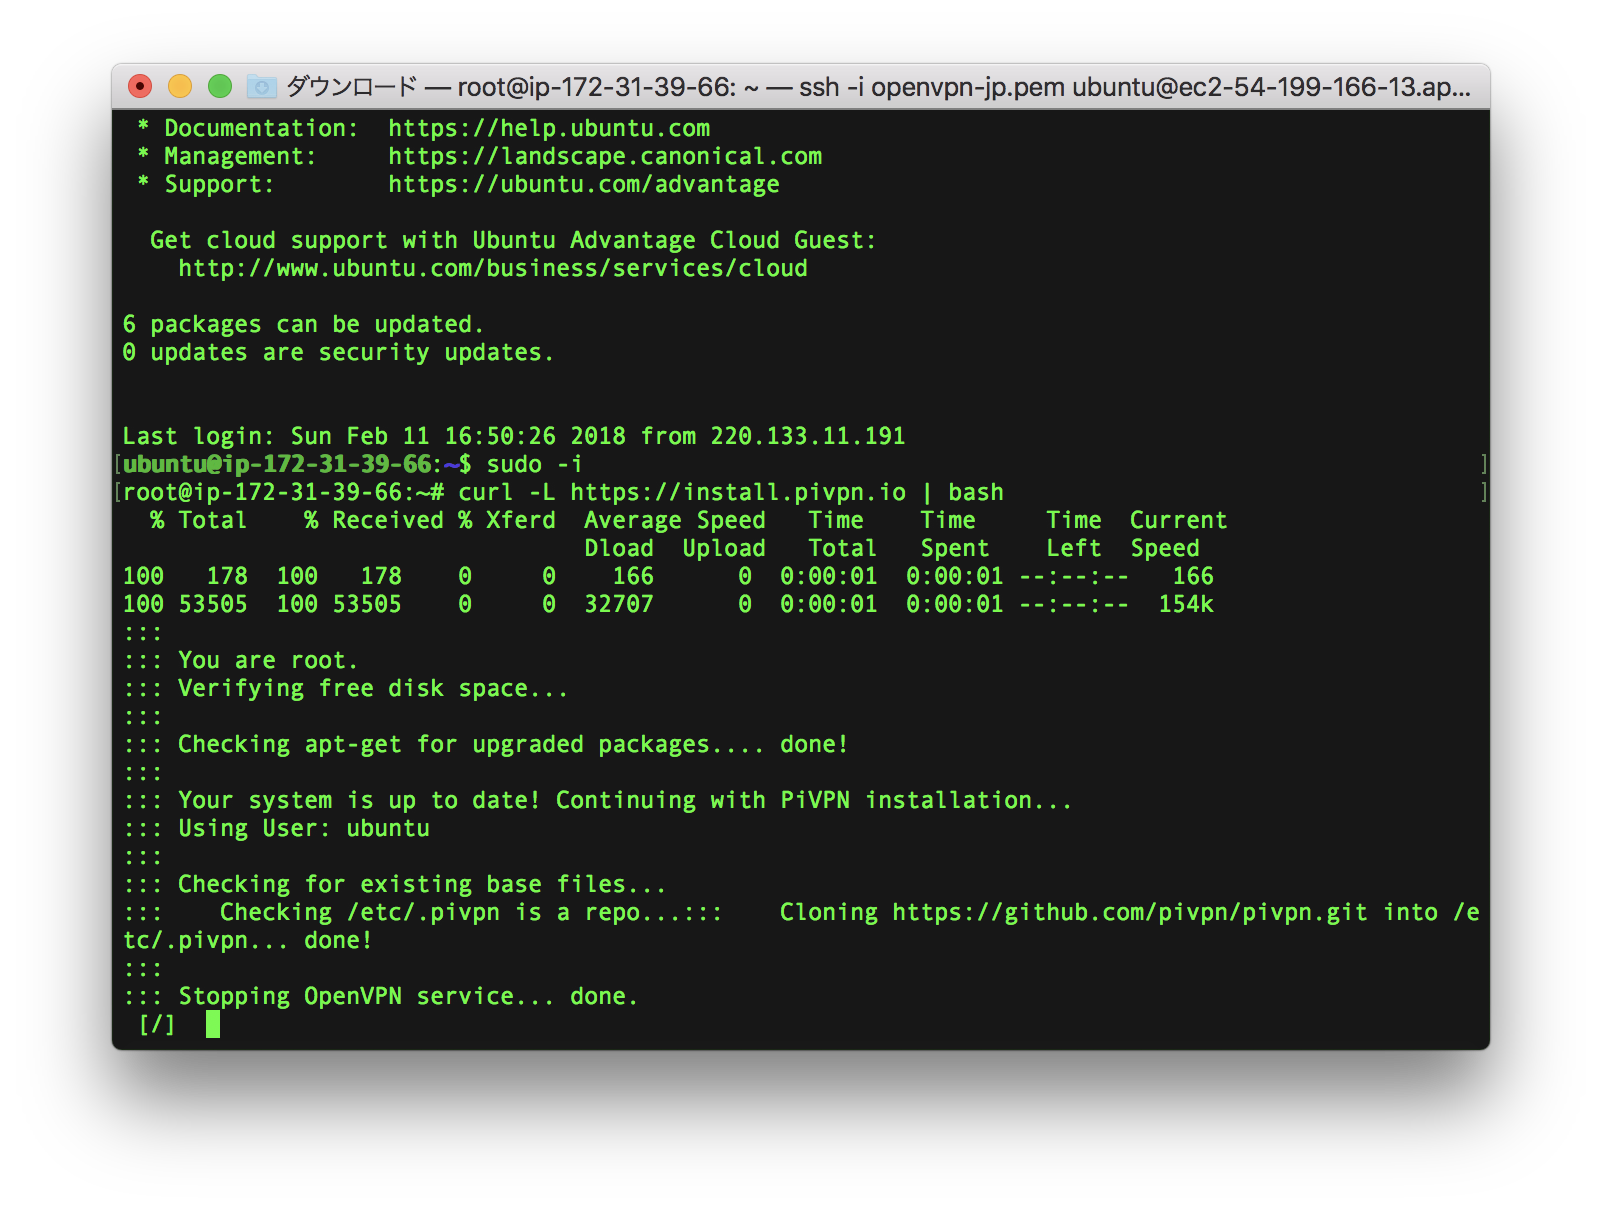
2. 取得安裝包:`curl -L https://install.pivpn.io | bash`
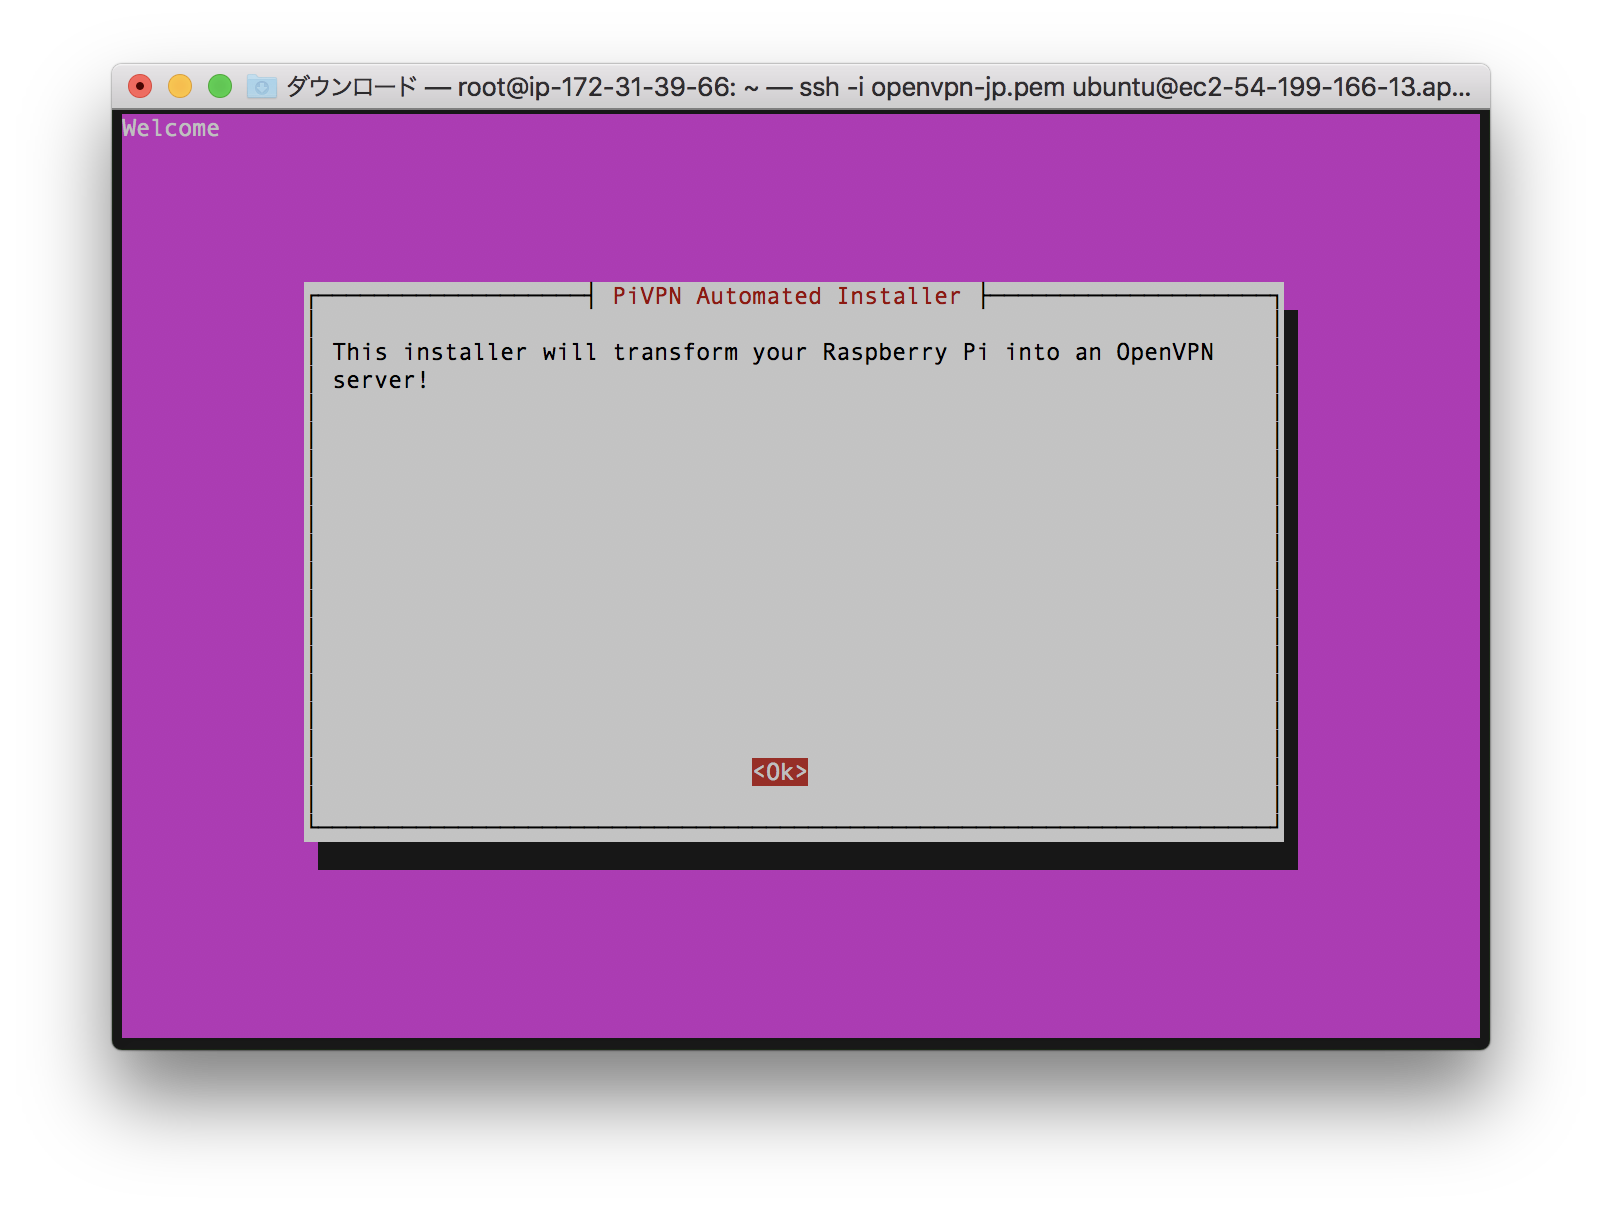
3. 接下來就會進入安裝畫面了:
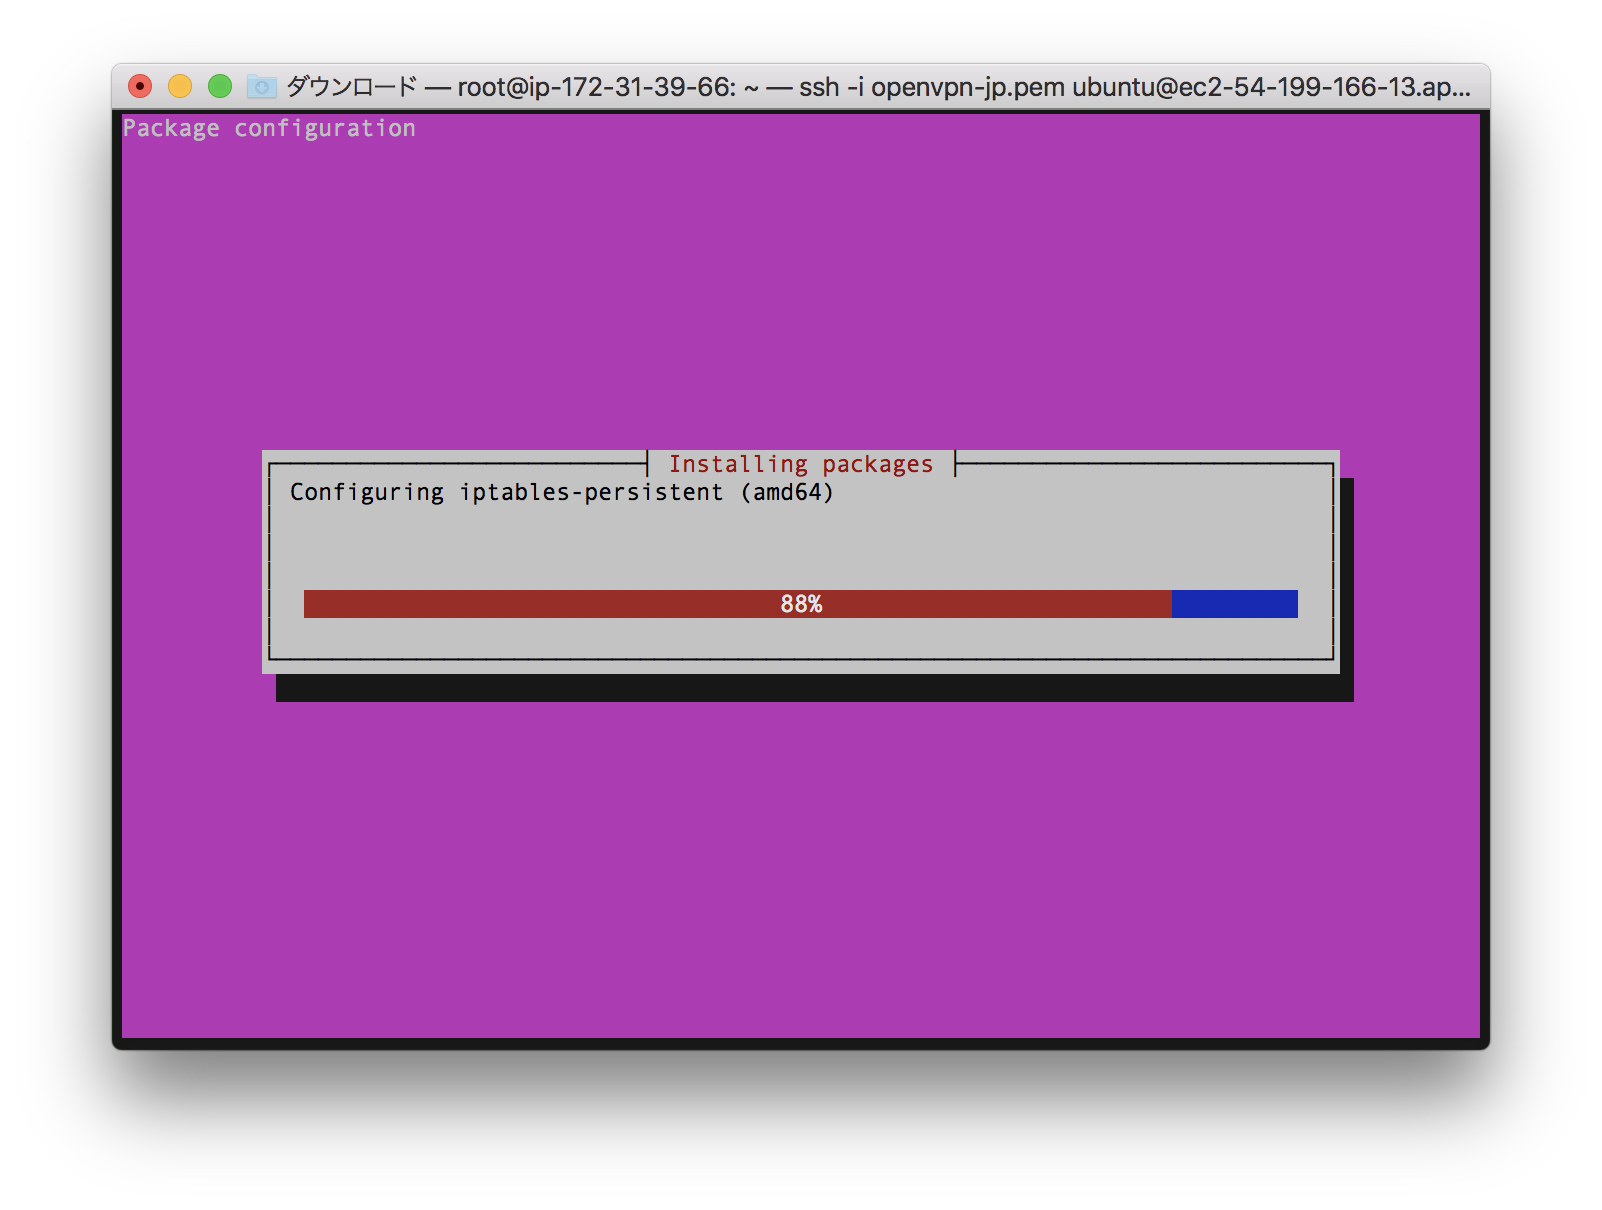
這裡依照預設值一直按 Enter 直到跳離粉色畫面。
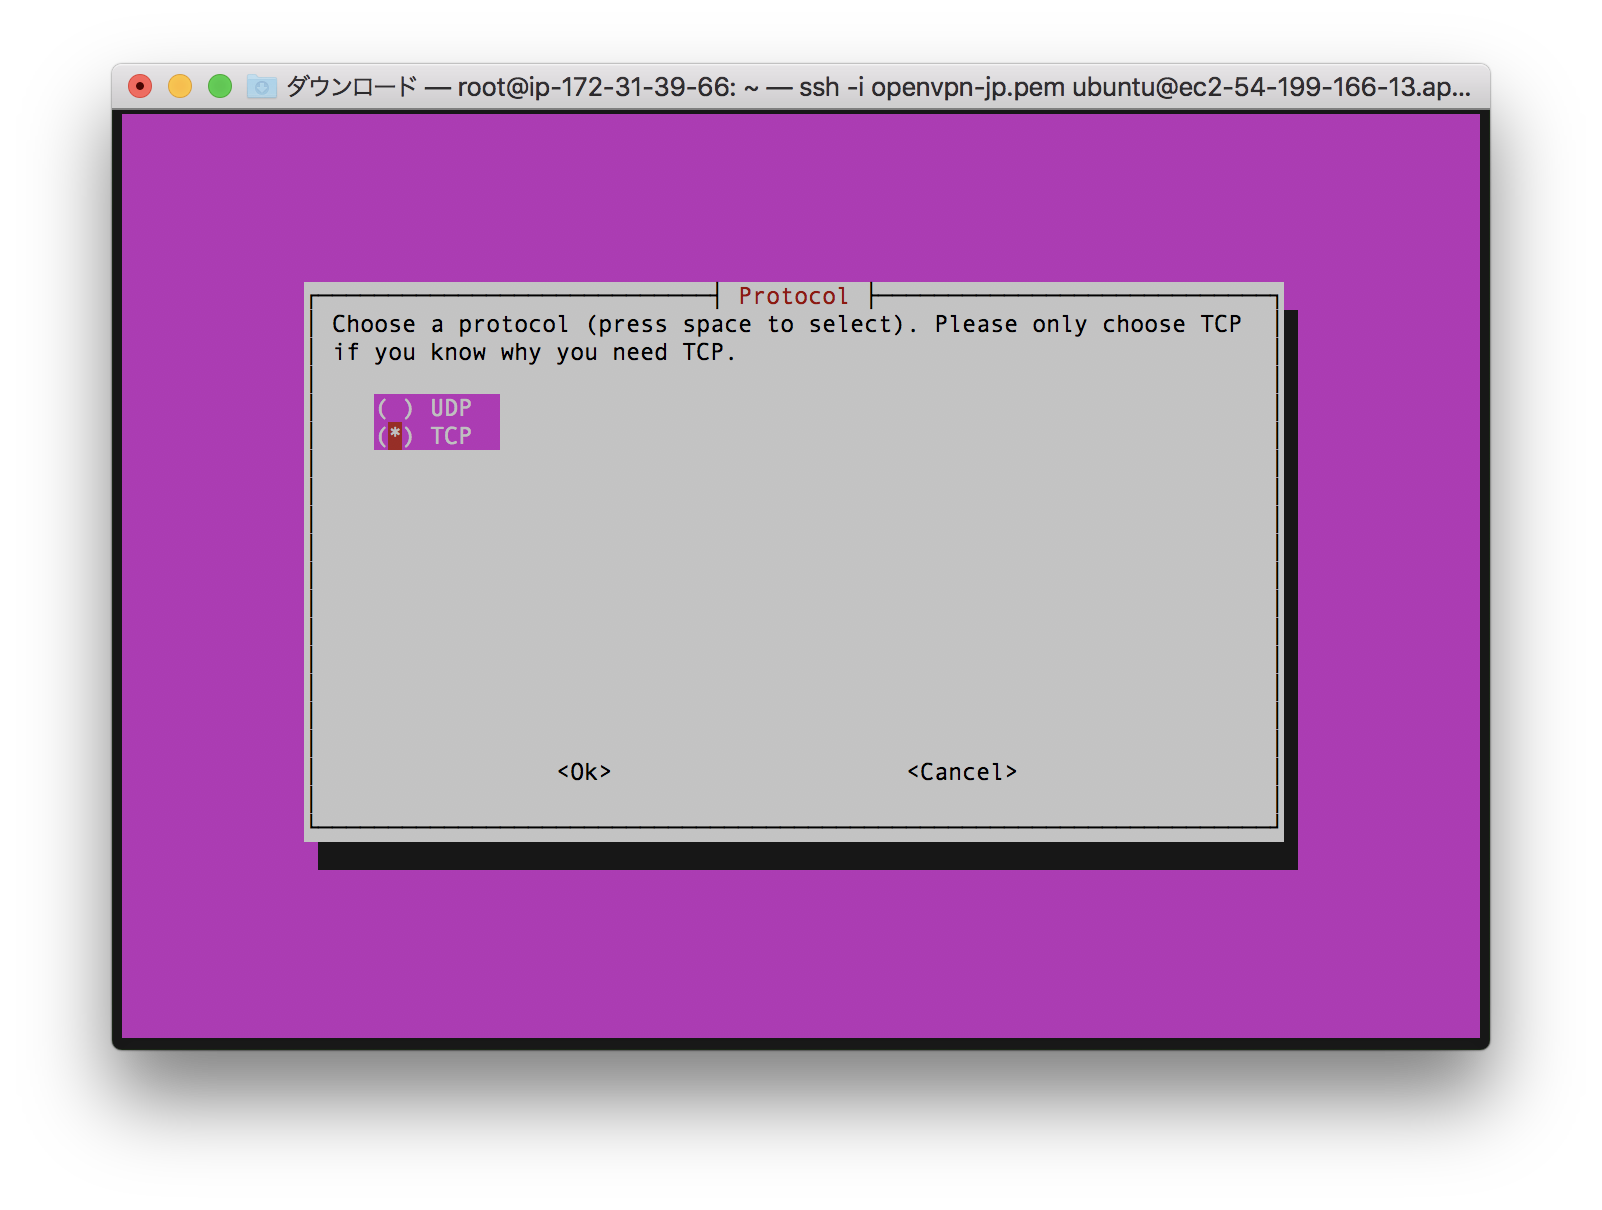
在這裡用方向鍵移動到UDP後按下空白鍵即可選擇 UDP,之後按下 Enter。
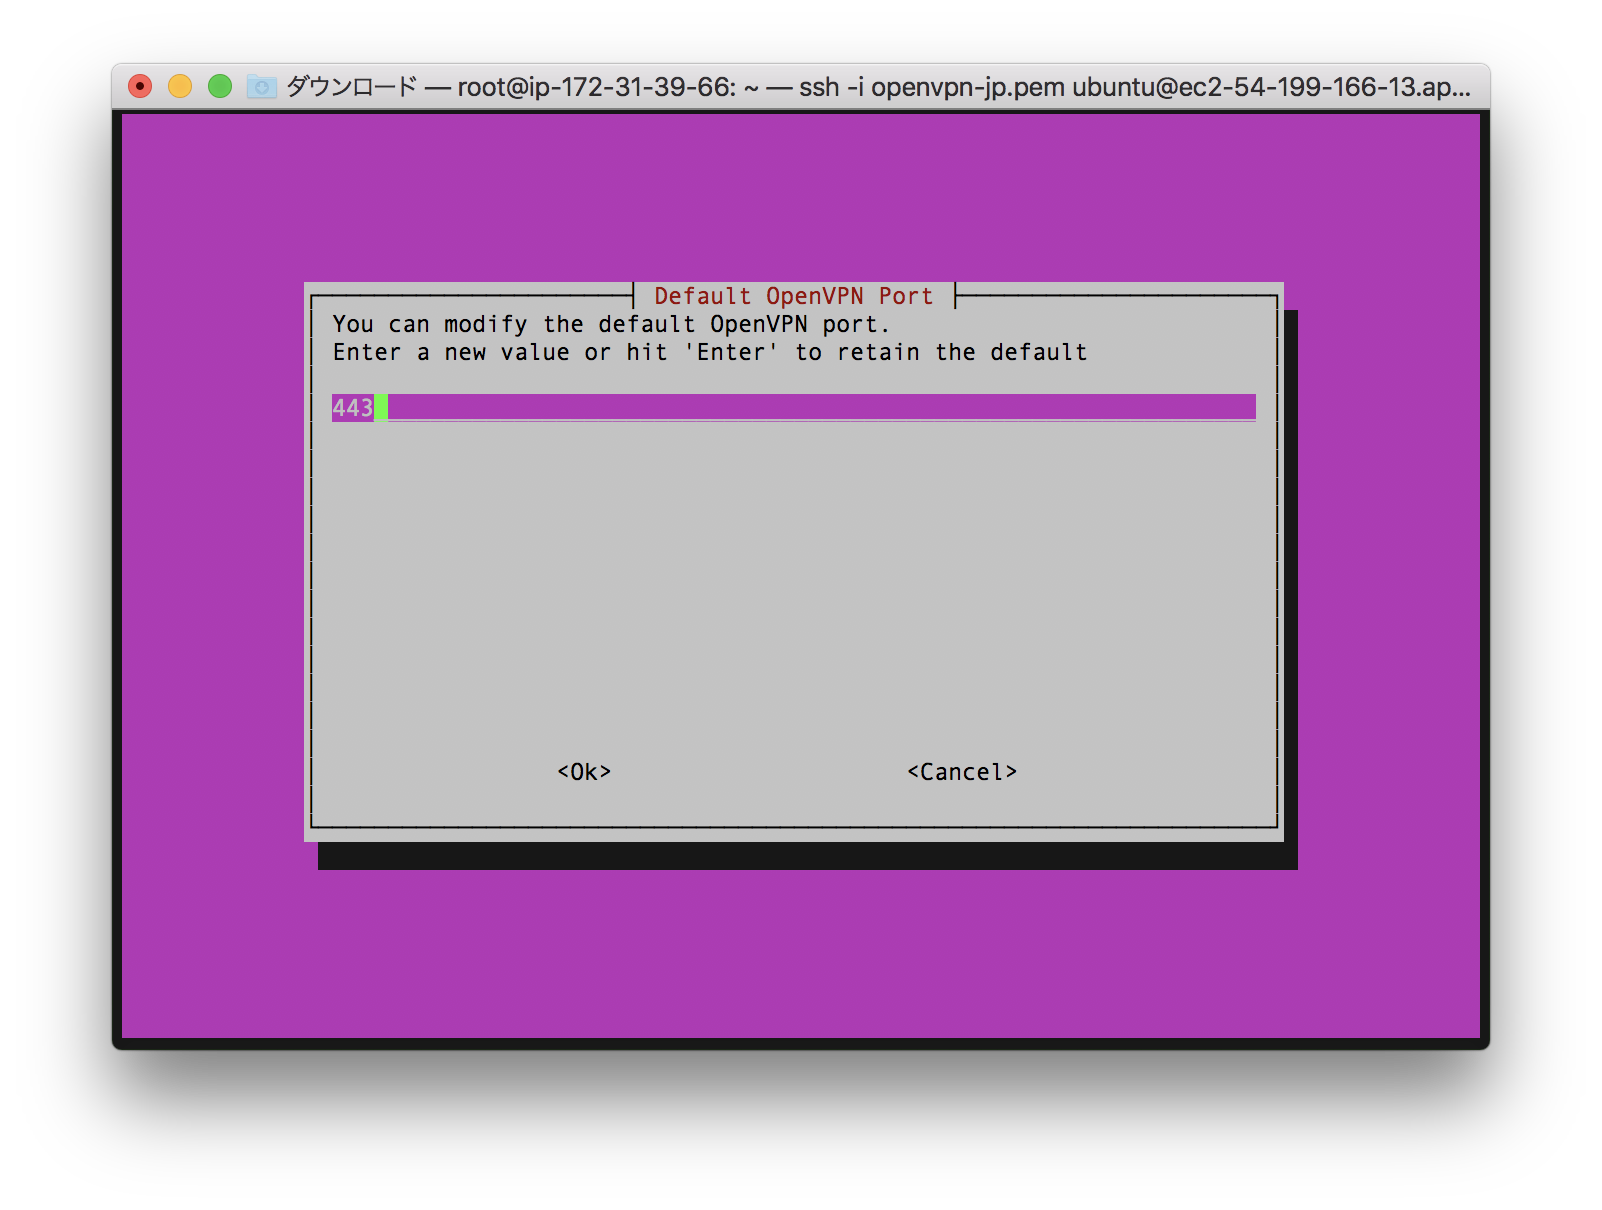
這裡依照預設值按下 Enter,之後如果沒有要變更其他設定的話也是一直 Enter 直到跳離粉色畫面。
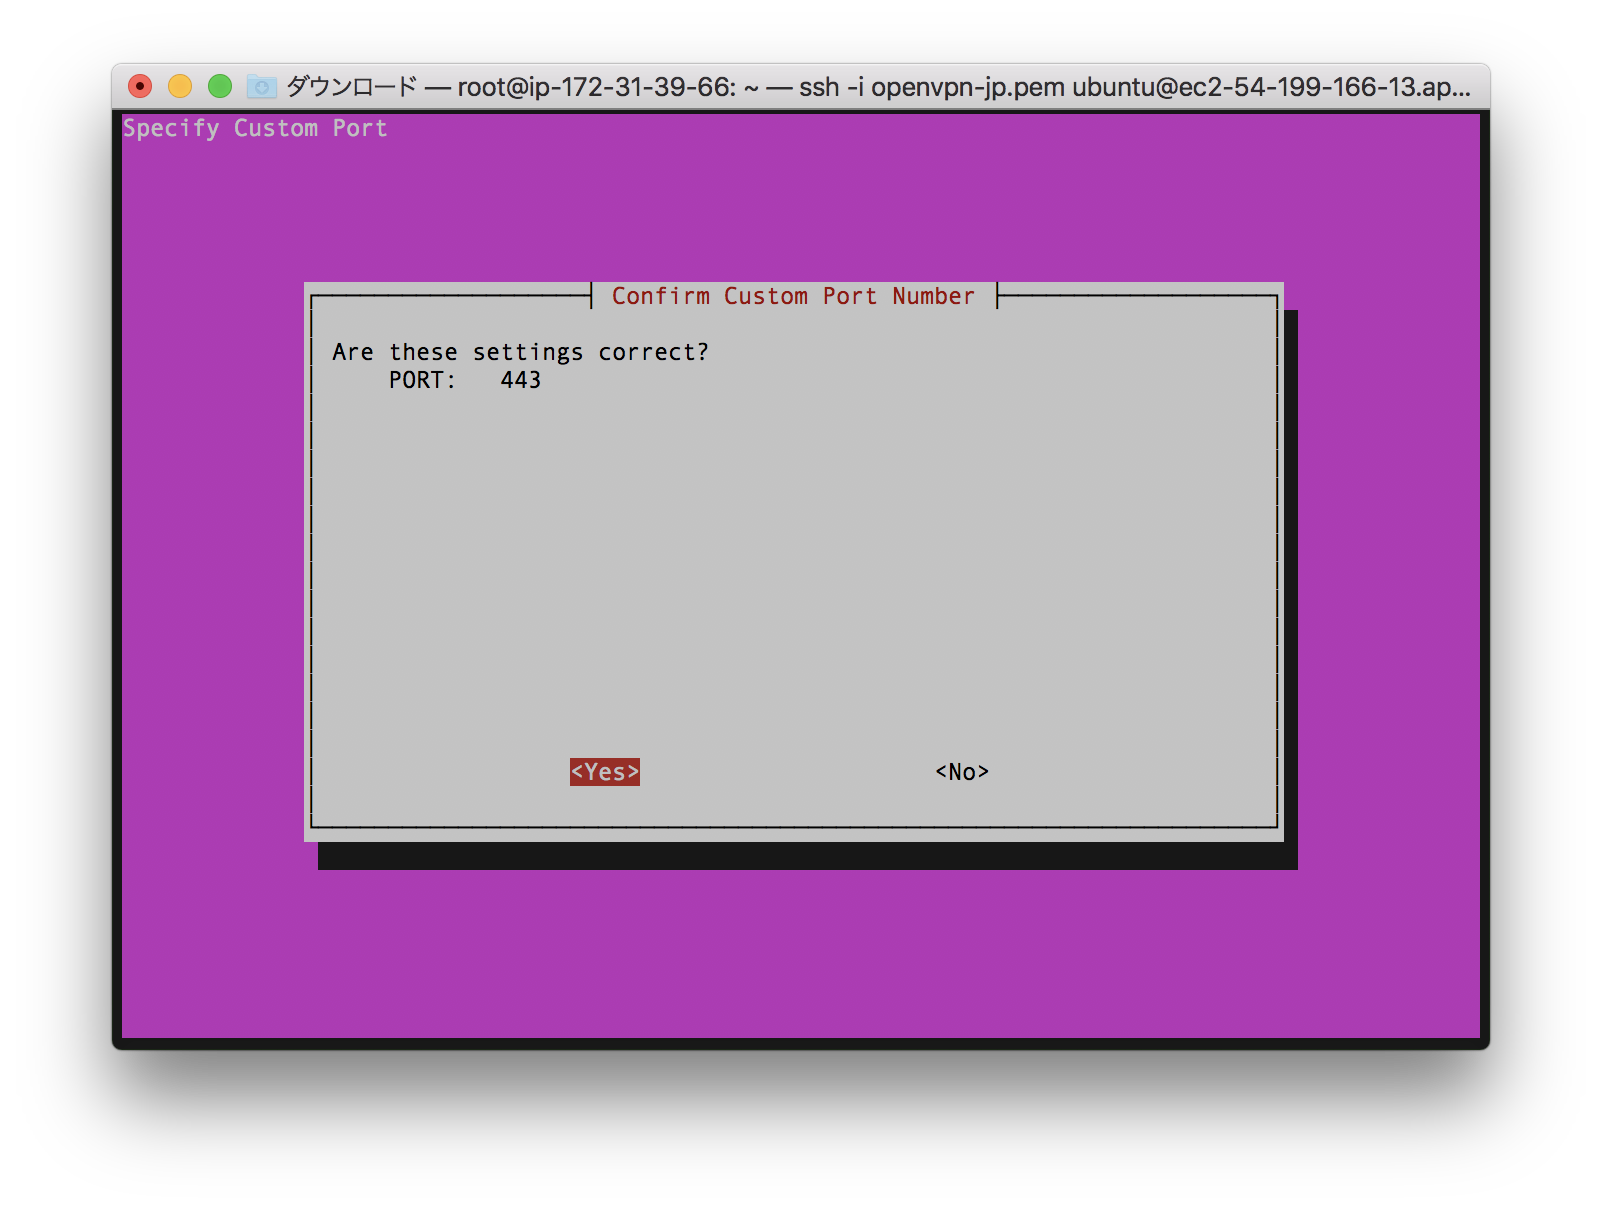
在這裡按下 Enter 後會生成金鑰,要稍等一下。
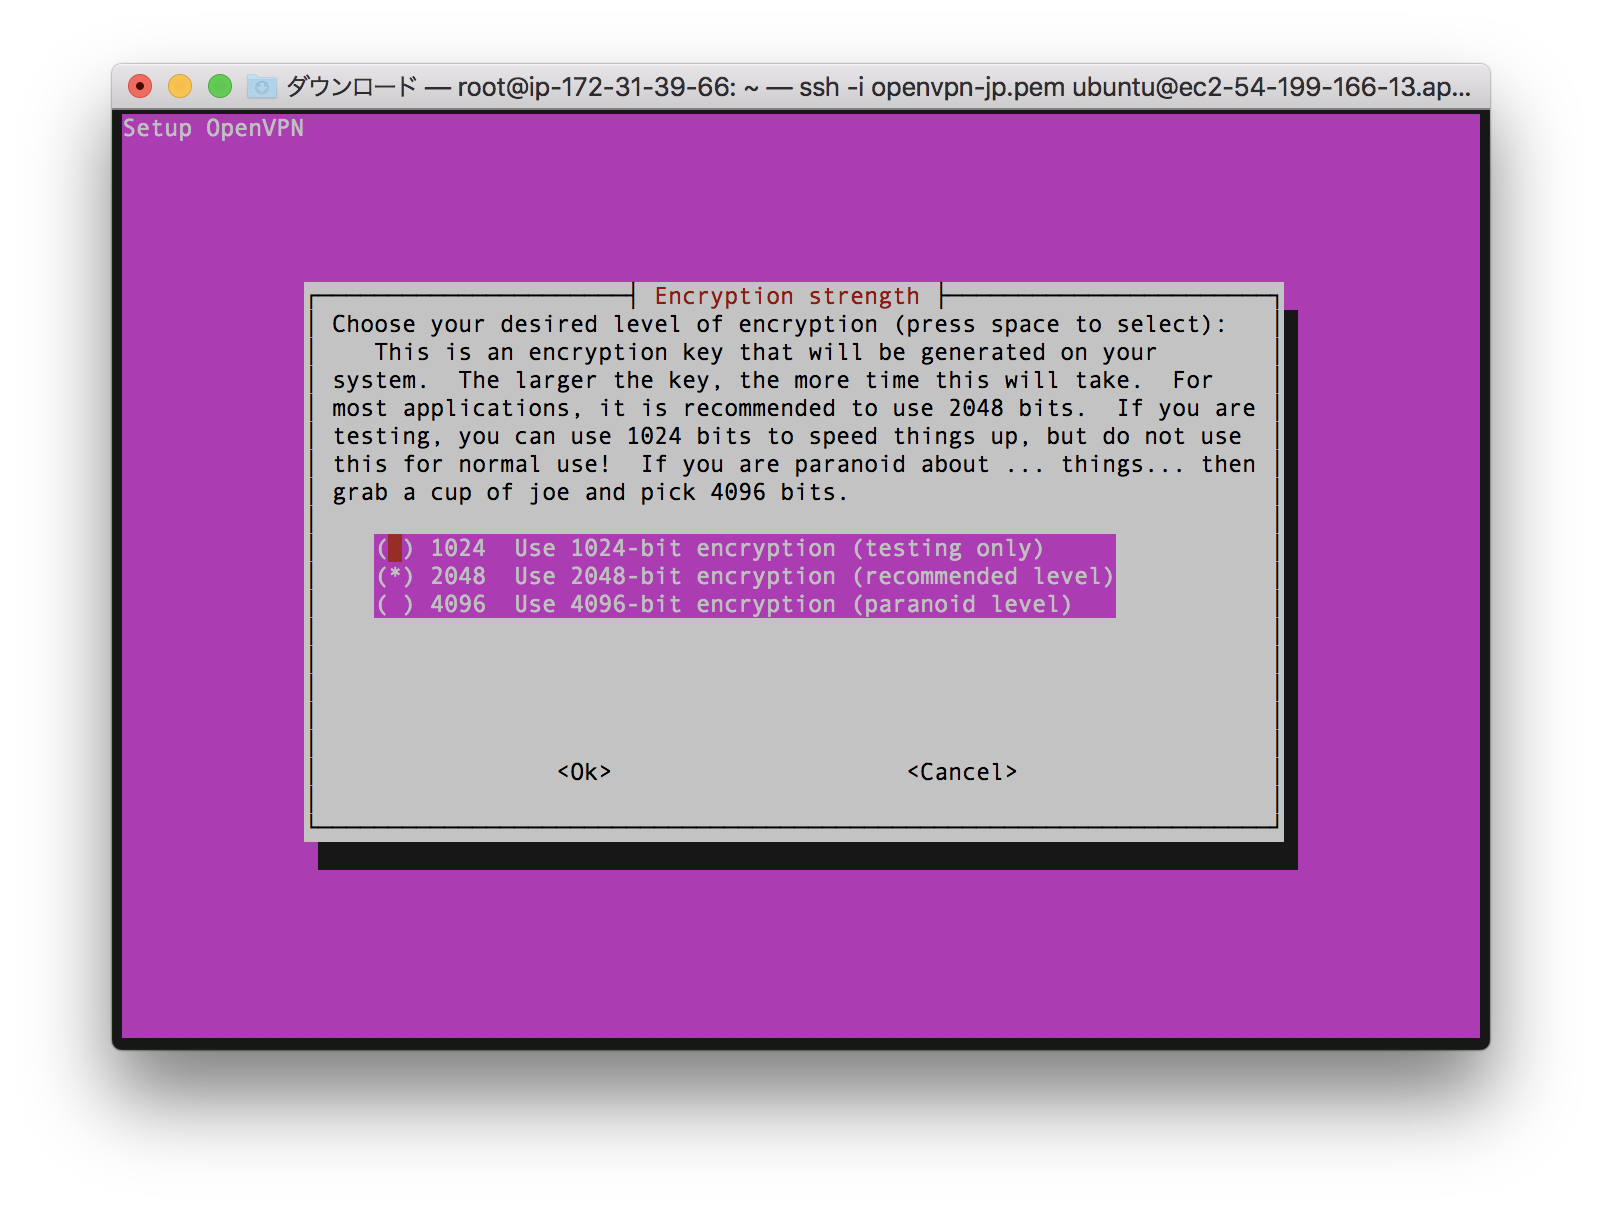
這裡可以選擇要用伺服器的IP還是你要自行設定 DNS,如果不知道的話請選擇預設值按下 Enter。
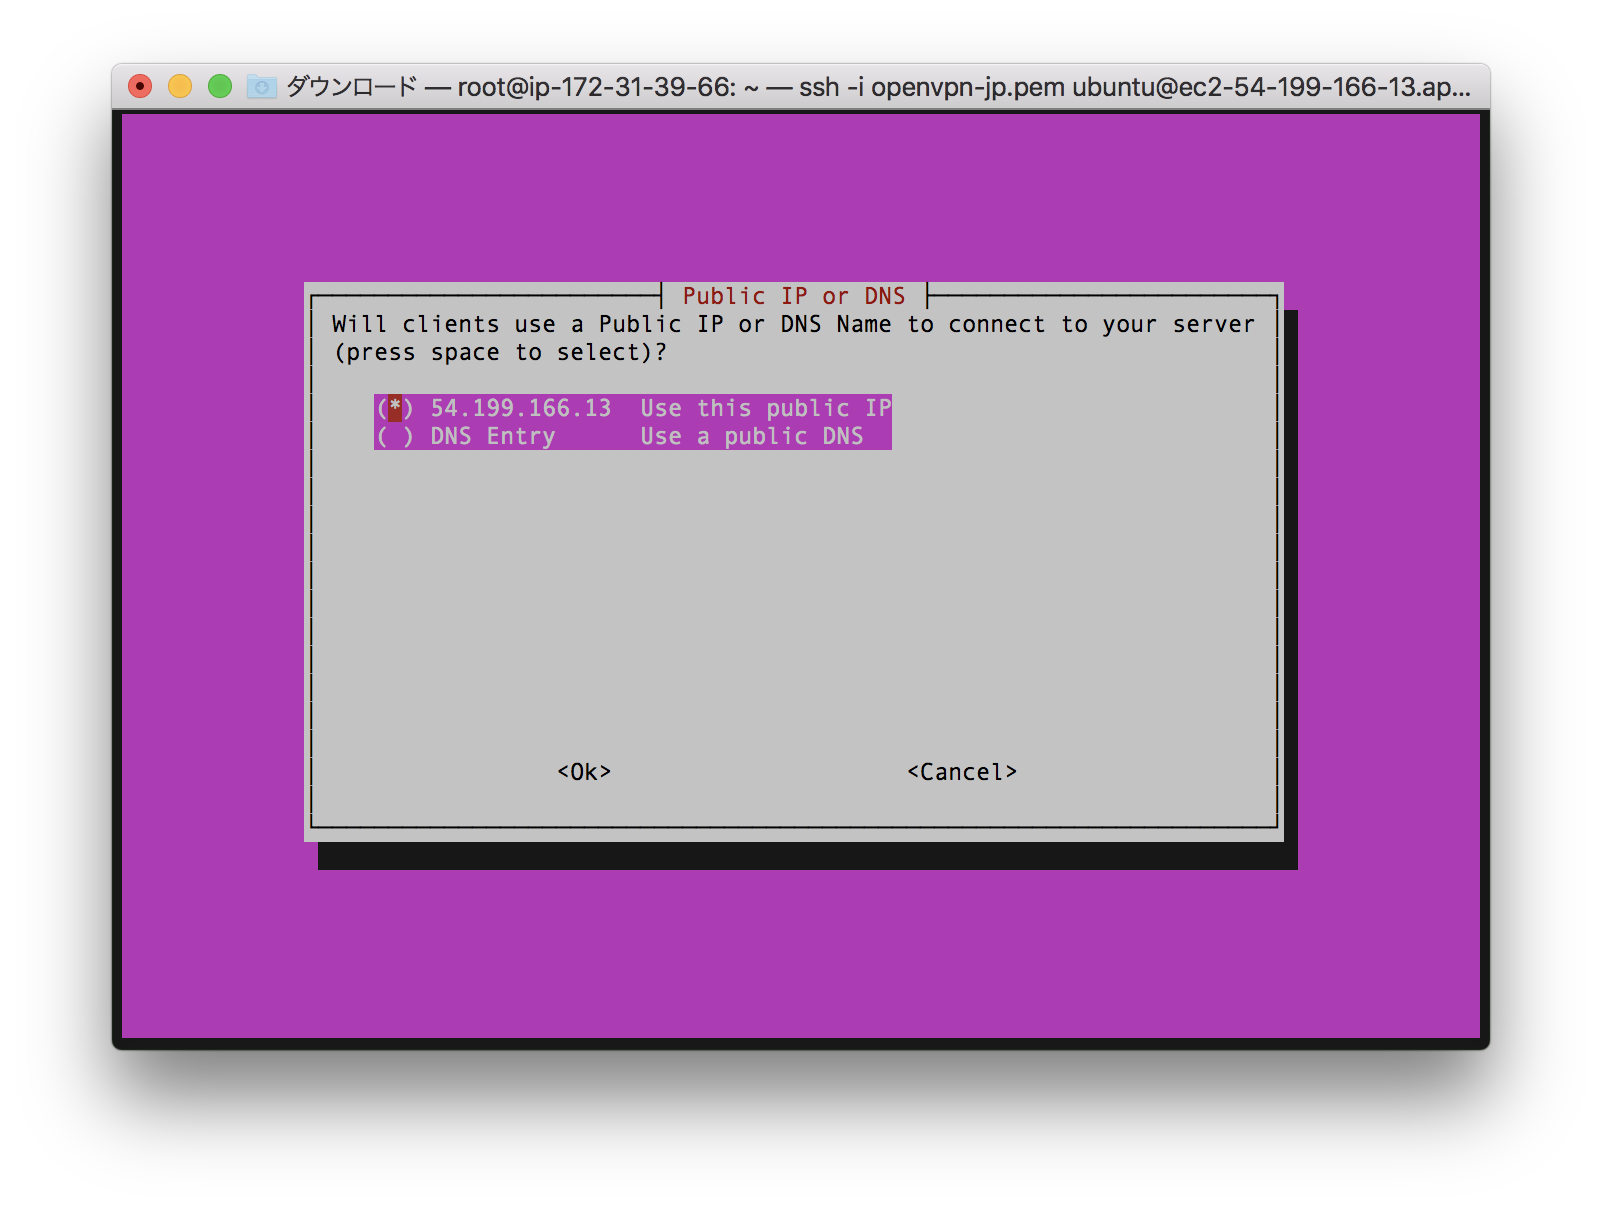
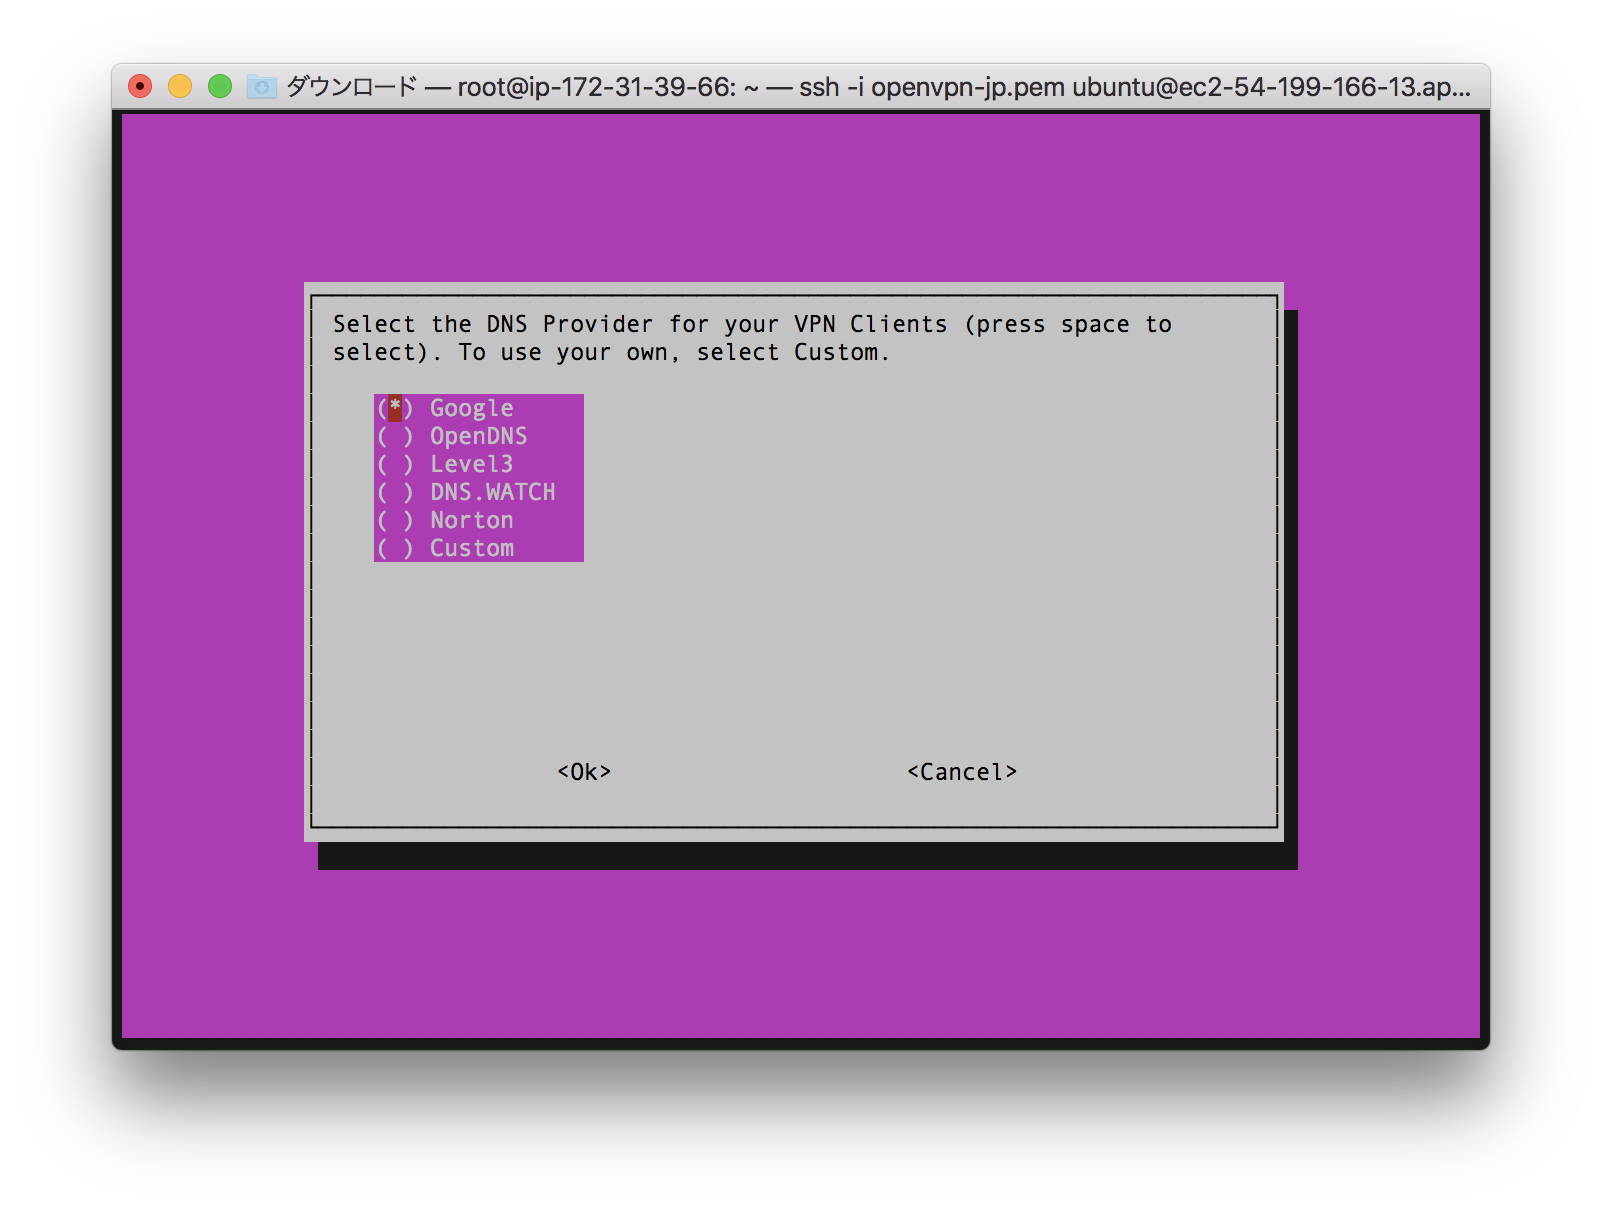
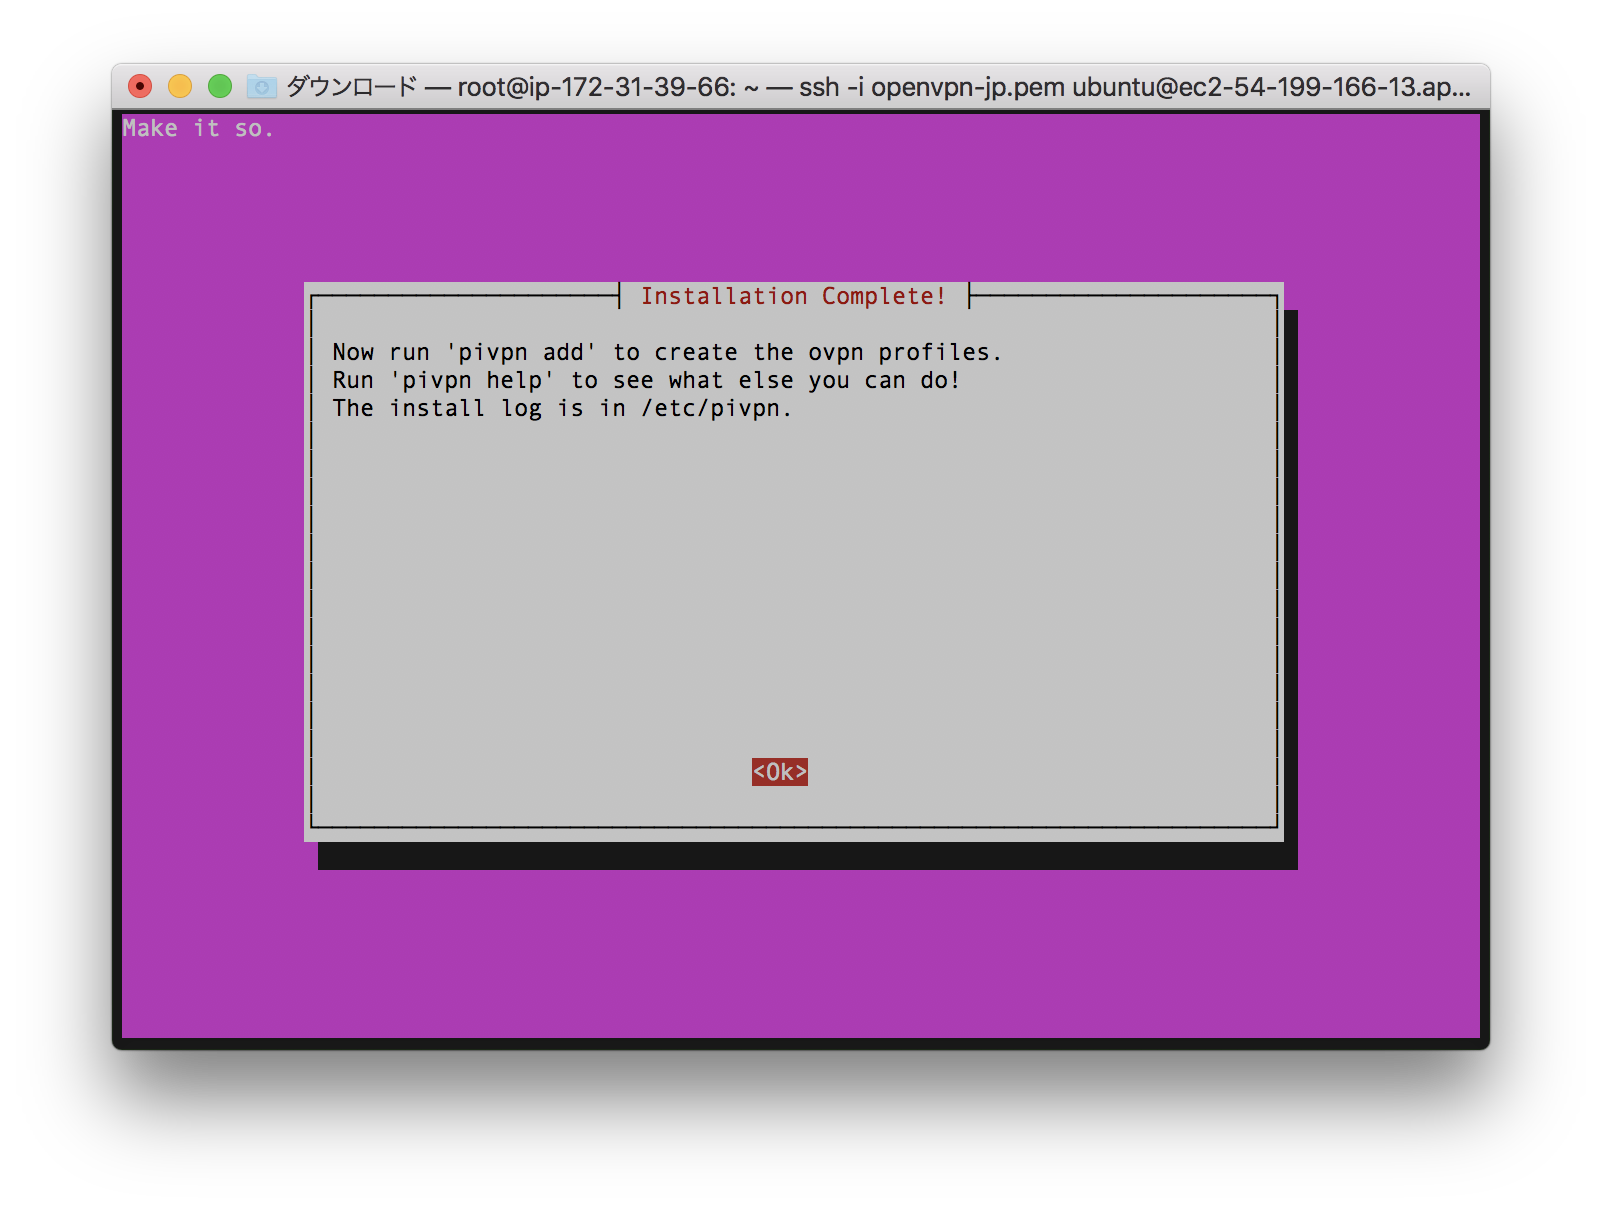
這裡是問你要不要現在重新起動,請用方向鍵選擇『Yes』按下 Enter。
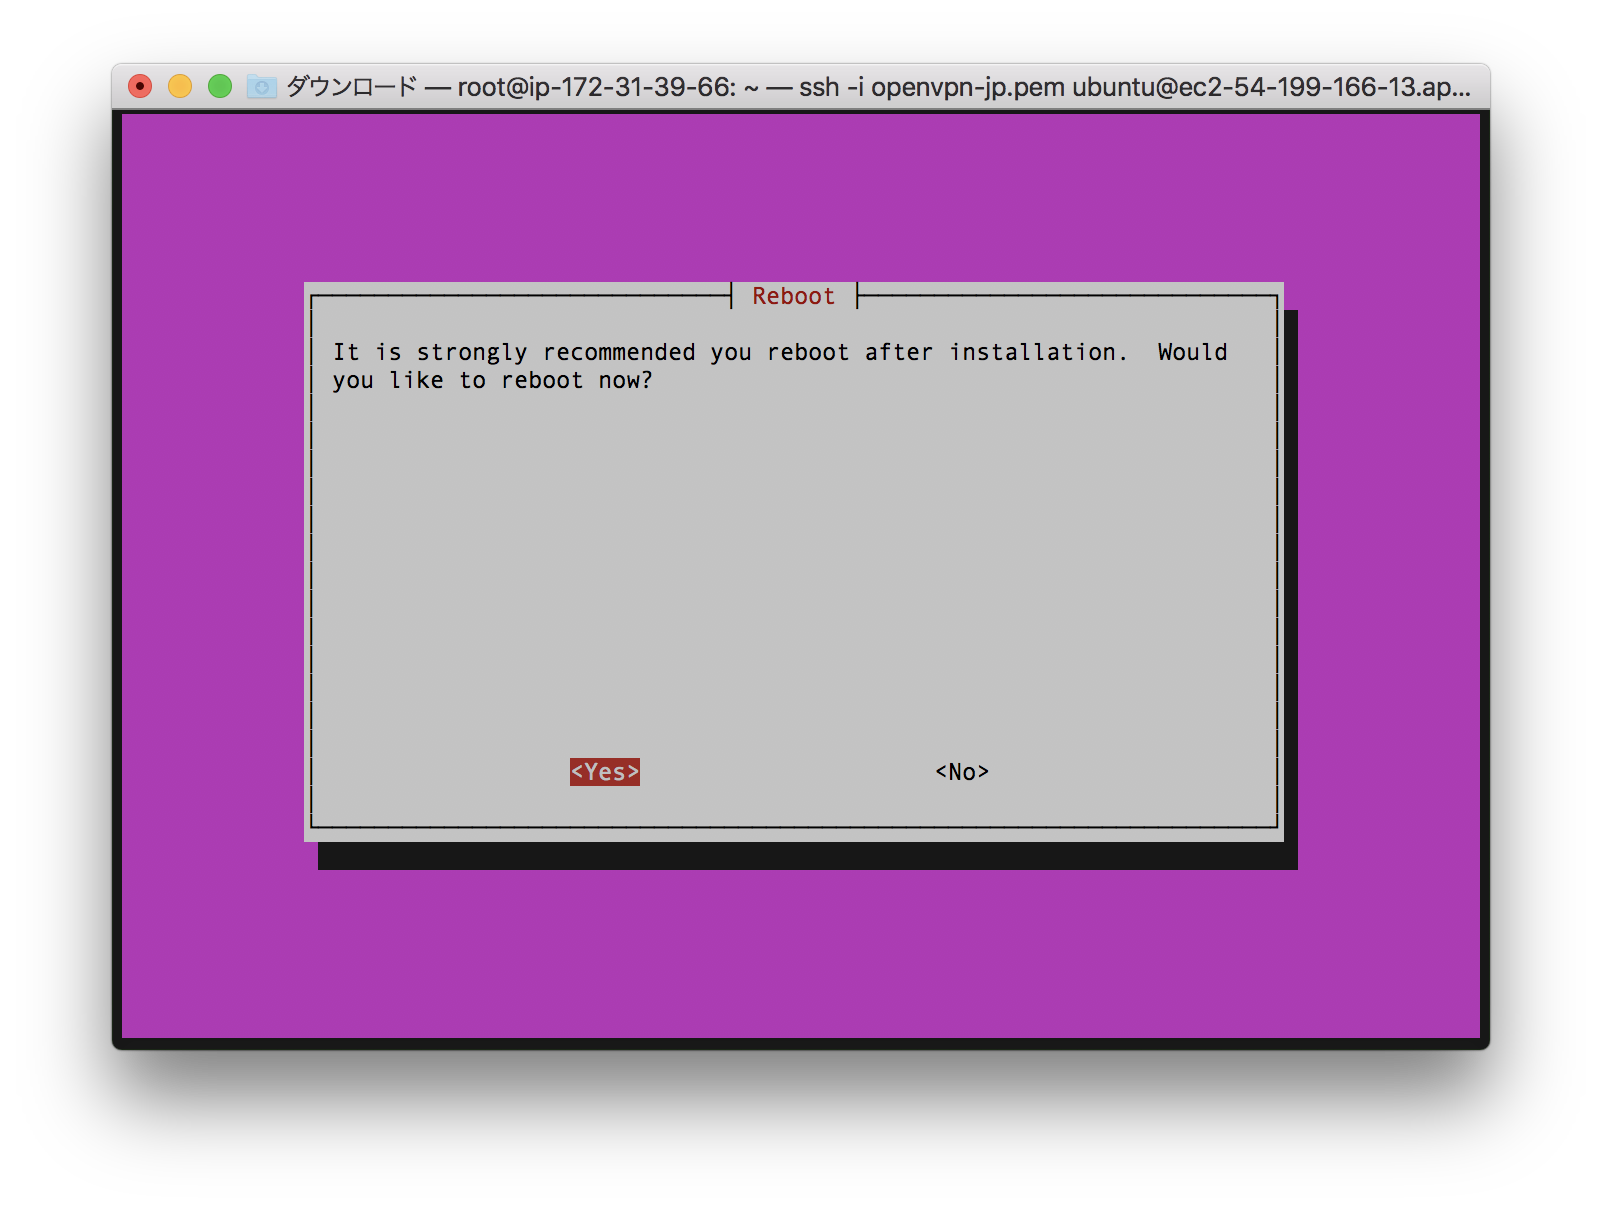
按下 Enter 後系統就會重新啟動了,重新啟動後請重新用 SSH 連線一次。
### Part 3:建立 OpenVPN Profile
1. 重新連線後切換到 root 帳號:`sudo -i`
2. 新建立 profile 檔案用於連線:`pivpn add`
3. 輸入 profile 名稱:Enter a Name for the Client:<名稱>
4. 輸入密碼:Enter the password for the client: <密碼>
5. 重複輸入密碼:Enter the password again to verify: <密碼>
6. 成功的話你就會看到:
```bash
========================================================
Done! .ovpn successfully created!
.ovpn was copied to:
/home/ubuntu/ovpns
for easy transfer. Please use this profile only on one
device and create additional profiles for other devices.
========================================================
```
1. 打開 Terminal 利用 scp 指令下載 OpenVPN 描述檔(.ovpn)到目前目錄:
```bash
scp -i "<檔案名稱>.pem" \
ubuntu@<你的Amazon伺服器區域名稱>.compute.amazonaws.com:/home/ubuntu/ovpns/.ovpn .
```
> Windows 使用者可以使用 PuTTY 附帶的 `pscp` 或 [WinSCP](https://winscp.net/) 圖形化工具。
### Part 4:連線
1. 到以下網頁下載客戶端:
1. Windows:[https://openvpn.net/index.php/open-source/downloads.html](https://openvpn.net/index.php/open-source/downloads.html)
2. MacOS:[https://tunnelblick.net/downloads.html](https://tunnelblick.net/downloads.html)
2. 將下載下來的 OpenVPN Profile 匯入程式後按下連線,輸入當初設定的密碼後就可以連線了喔!
3. IP 有可能會變更,如果發現連不上請重新建立一次 Profile。
4. Mac 版要勾選傳送所有流量,網路才會被導向 VPN。
5. 享受沒有 IP 限制的世界。
6. 提示:可以為虛擬機綁定 Elastic IP,避免 IP 變更後需要重建 Profile。
## 參考資料
- [PiVPN](https://pivpn.io/)
- [AWS EC2 文件](https://docs.aws.amazon.com/ec2/)
## Sitemap
See the full [sitemap](https://hannoeru.me/sitemap.md) for all pages.